Amitha's Blog
Decorating 101: 3 Key Exercises to Kickstart Any Design Project
Before I start any design project, my mind is exploding with ideas….
It races between all of the potential paint colors I could choose. The furniture to incorporate. The art to hang on the walls. The accessories to adorn the space with. And the fabrics to choose.
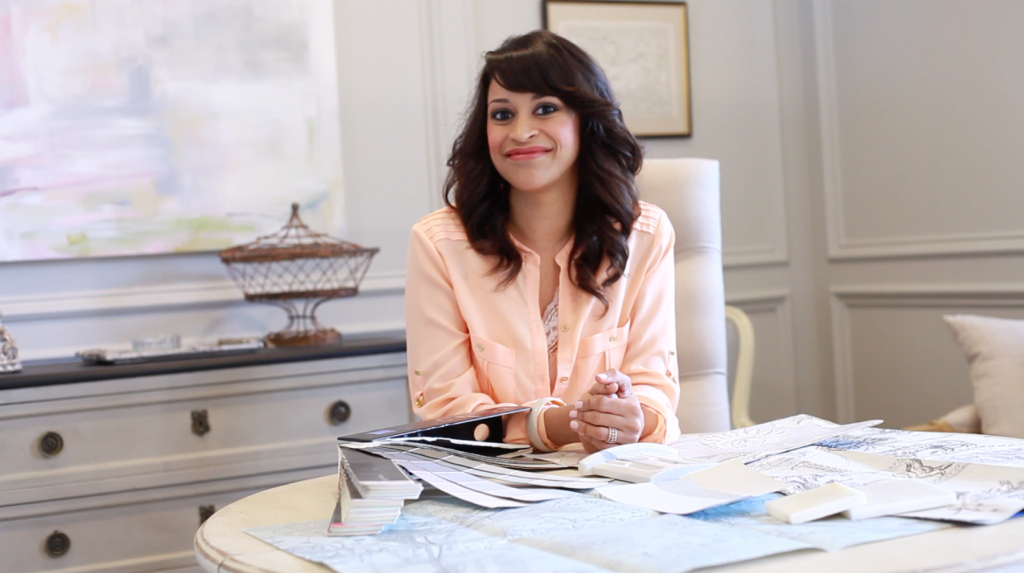
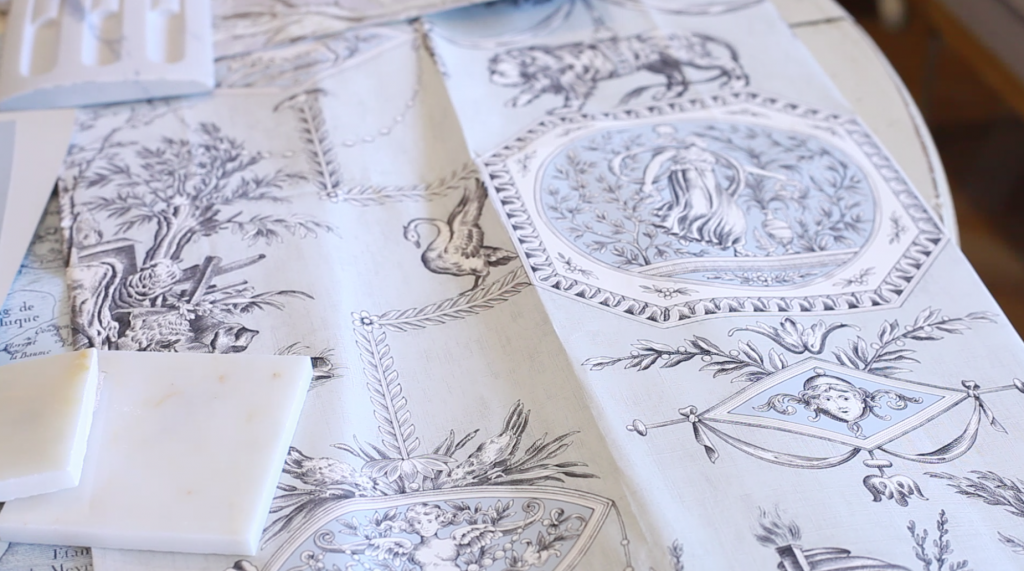
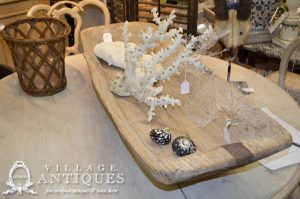
If that wasn’t enough, I then remember that the perfect piece is waiting in my favorite store (Village Antiques, of course).
So to reign in all of these thoughts swirling in my mind, I’ve created a 3-step process I use to start every project. Whether I’m starting a client’s design project or decorating my own home, I always start with the same three exercises.
These three core exercises have been carefully thought out after over a decade of design experience. And you don’t have to be a designer to follow them!
So if you want to make your home decorating process smooth and effortless, here are the three exercises I recommend you use to get started on your home projects:
Design Exercise #1: Chunk Your Buying Down into Categories
I start by writing down everything I’m going to address in the room using a high-level, category approach. I don’t write down every object I’m going to buy but specifically hit each category. (If you love making lists, you will love this process!)
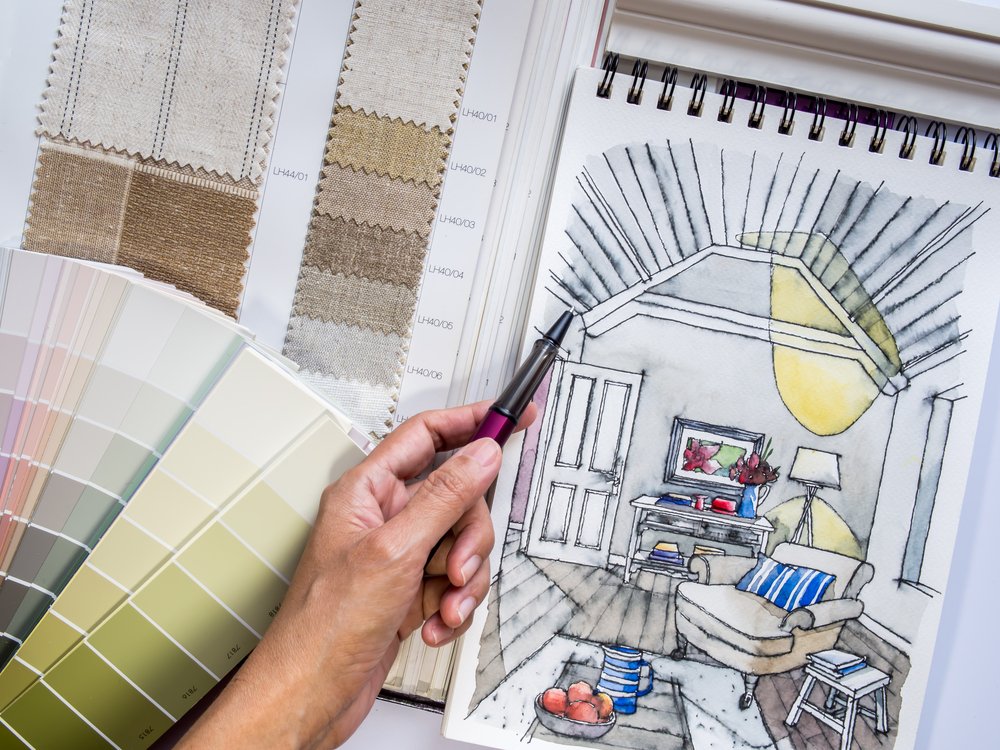
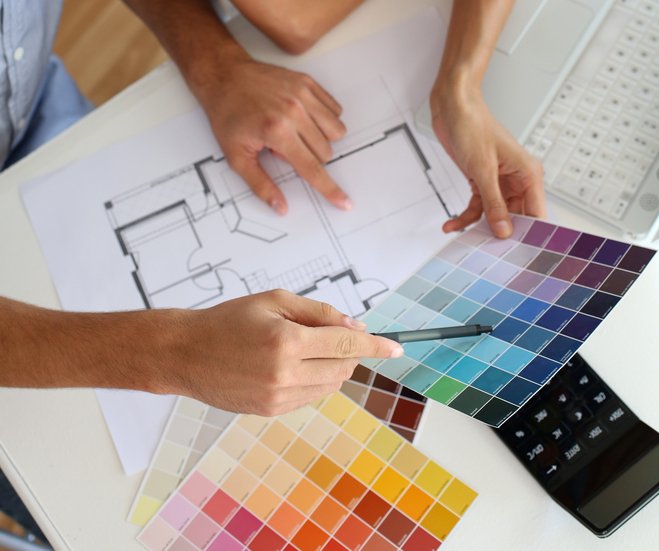
To show you this exercise in action, here’s an overview of a library I’m working on. Here is the scope of my project:
- – Design new paneling layout
- – Custom design gorgeous new bookshelves and work area
- – Select the right paint color and finish for the paneling / millwork and room
- – Source lighting for the paneling if needed
- – Create an optimal furniture layout
- – Create several comfortable workspaces in the room
- – Create seating layout that is ideal for your family
- – Design and install brand-new window treatments
- – Select artwork, lighting and décor
- – Select accessories to style bookshelves
- – Style bookshelves
Now that you’re done chunking down your decorating into categories, move on to step 2.
Design Exercise #2: Get a Birds-Eye View of Your Space
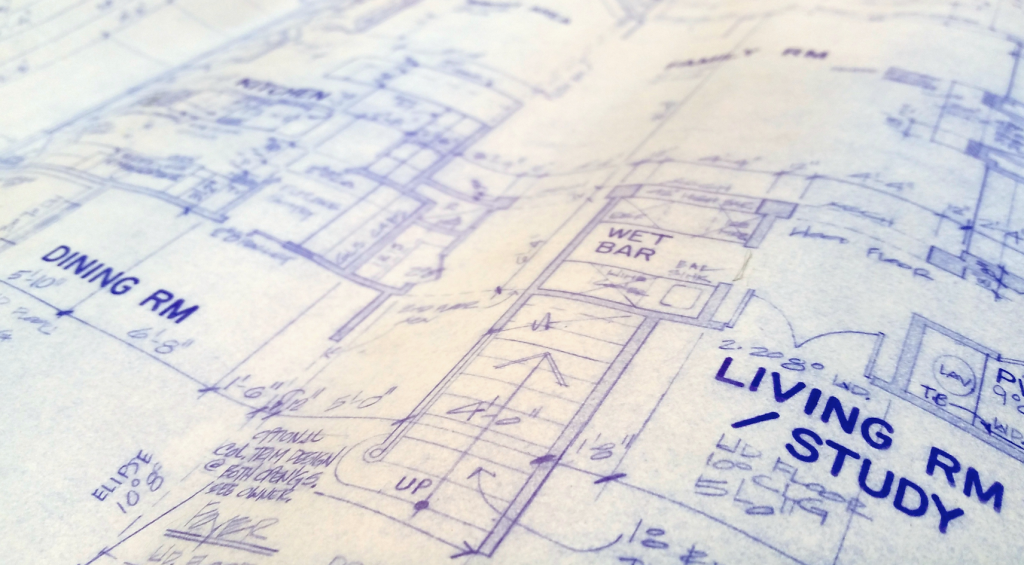
Before you even think about getting your keys out, you have to put your pen to paper and visualize your space. There are 5 key steps to translating your space onto paper:
- – Get a few sheets of paper
- – Measure your room
- – Draw the shape of your room on paper and indicate the dimensions
- – Draw in any doorways, windows and openings
- – Make notes of any obstacles you need to work with
I know what you’re thinking… “Amitha, this looks too hard.”
I get it. But you have to fight the temptation to skip this exercise. It’s not as hard as you think. It only appears that way since you’ve never done this before. And even if it’s a little hard, I bet you’ve done many things that were far harder than this and the end result was SO worth it. (Like having kids!)
Exercise #3: Start Designing!
Now that you’ve completed those three key exercises, you can finally start designing!
Here’s how: Place a new piece of paper on top and start drawing in a few furniture arrangements that you think will be the ideal set up. Then you’ll want to draw 2-3 more versions. Push yourself past your original ideas. Even if you end up with the same concept you started with, it always pays to explore other options.
This exercise will give you the roadmap you need to decide what furniture to buy, pinpoint areas where you can bring in designer fabrics, and identify where you can change paint colors…plus so much more!
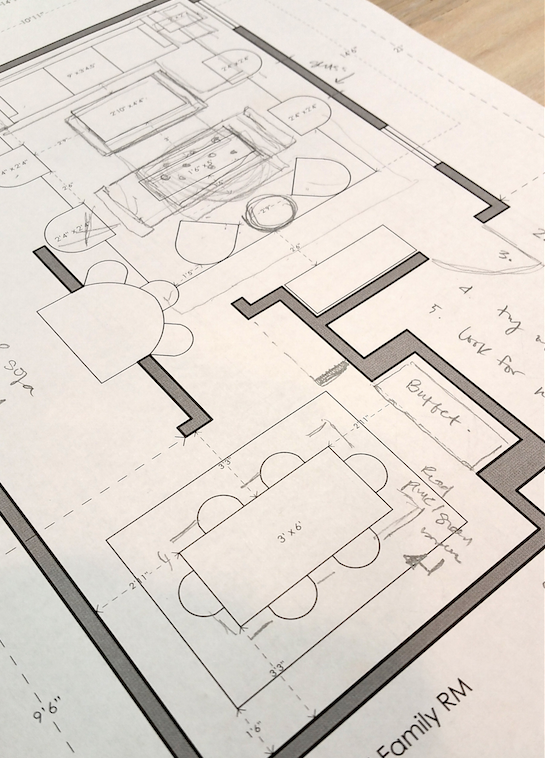
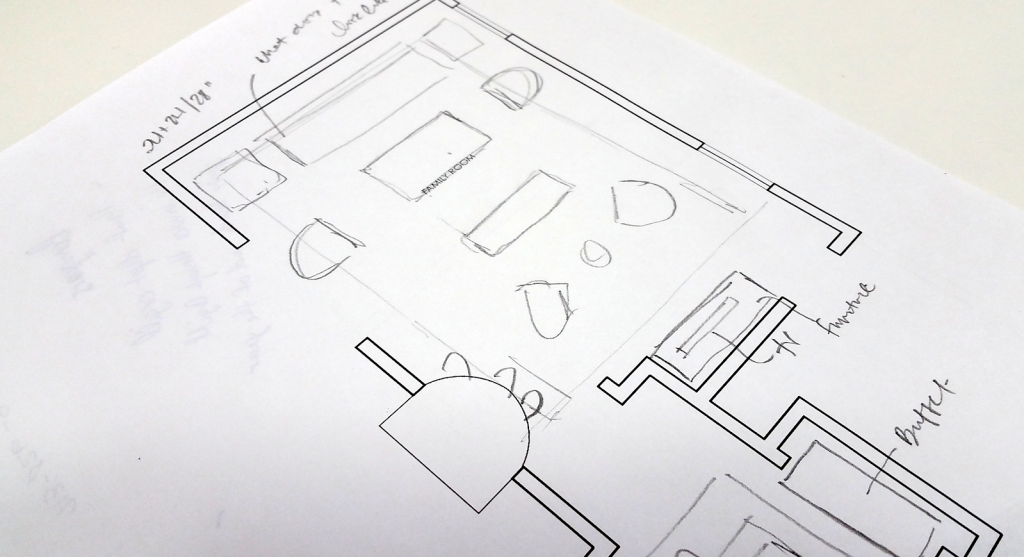
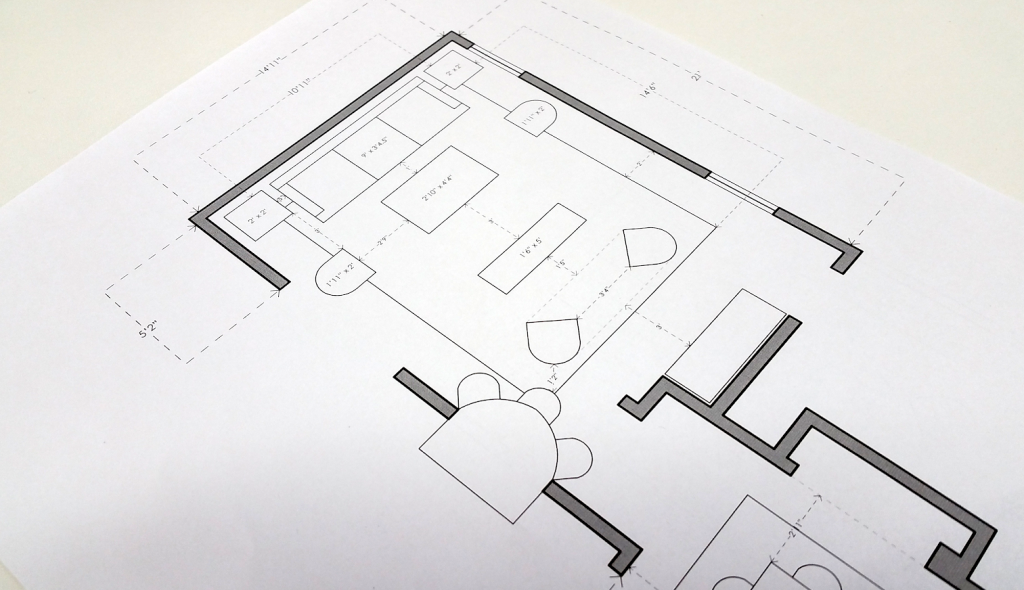
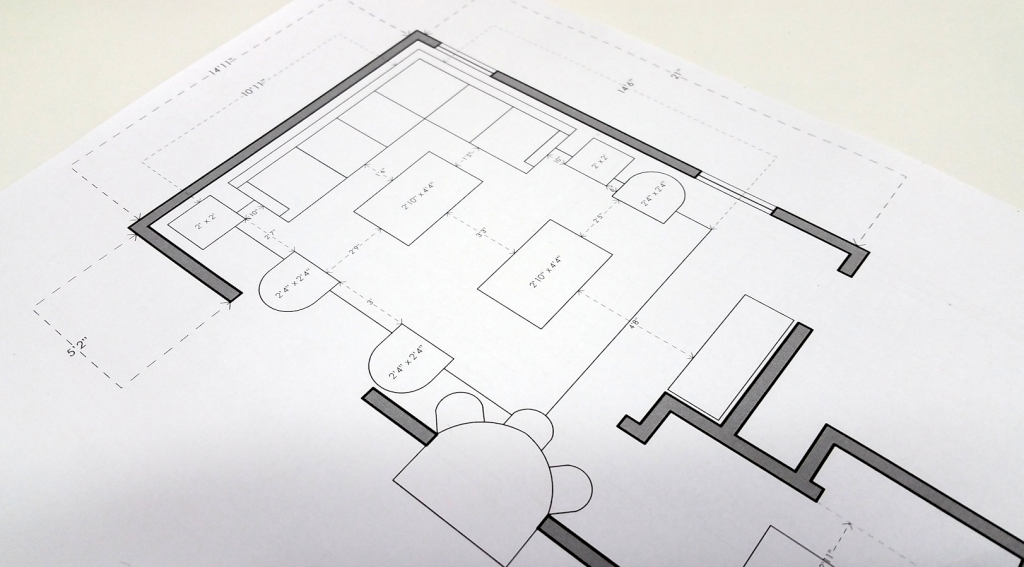
Although I’m a pencil and paper kinda gal, you might love apps & tech. So go ahead and test apps like MagicPlan that instantly generates a “blueprint” of your space using only a photograph.
Will you use these three exercises to start your next project?
Does any of it sound intimidating to you?
Be sure to let me know in the comments if you think these exercises will help you start your projects with greater ease and confidence.
One of the questions I’m most asked is how I start my design projects. So I wanted to take a break from chatting about TV appearances, sparkly pics and before & after’s so I could truly help you eliminate overwhelm and fall in love with the decorating process!
If you know anyone who could benefit from learning how to get started on their next design project, go ahead and share this post with your friends and family!

Secret Tool Revealed
High-priced interior decorators desperately want this hidden: YOU can transform your home into a gorgeous dwelling—all by yourself—and save thousands. All you need is a few dollars’ worth of material. Access this amazing secret RIGHT NOW, and revitalize your home...in just a few hours.


