Amitha's Blog
Floral Centerpieces | DIY Floral Arrangements 4 Ways | Amitha Verma
I can’t think of a better way to brighten up a space on a budget than adding a beautiful, fresh floral arrangement.
You don’t need to be a master florist or spend excessive amounts of money on professionally arranged floral centerpieces to create something stunning in your home.
I’m sharing my advice for creating beautiful centerpieces in your home. I’ll start from beginner-level arrangements to something a bit more advanced in this 4 part series. That way, no matter where you fall on the spectrum, you can prepare a stunning floral centerpiece for your next event.
So be sure to scroll through and watch all 4 of this week’s tutorials!
Let’s get started on the first lesson.
Lesson 1: Start Small If You’re A Beginner
This method of designing a floral arrangement is foolproof, and it delivers a gorgeous result. Creating a fresh floral centerpiece won’t feel intimidating if you start small.
Choosing Vases
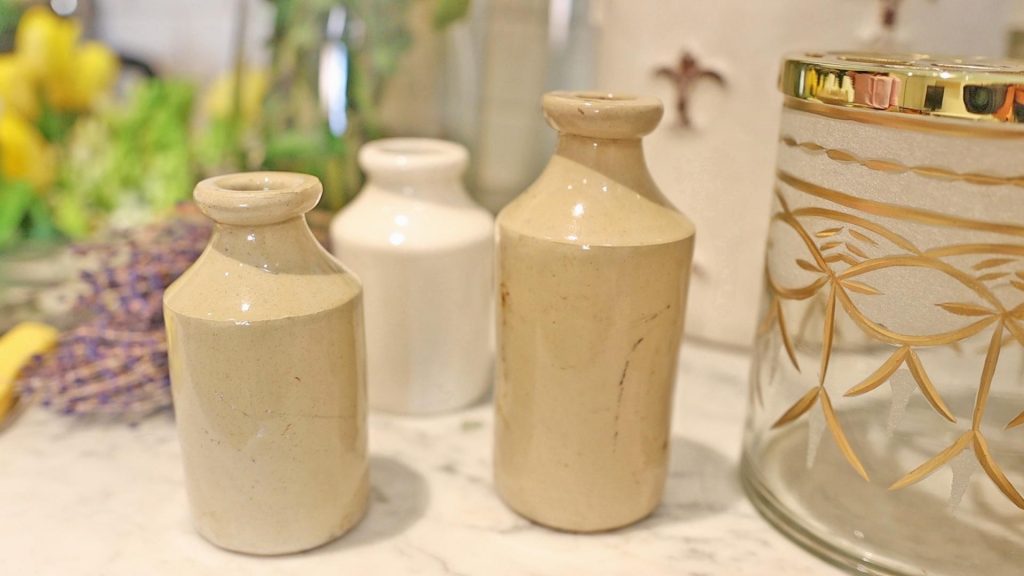
I like to go for odd numbers because it’s more aesthetically pleasing to the eye.
I’m using three short, narrow bud vases for a “less is more” look. If you want a larger cluster for a more dramatic effect, opt for five or seven vessels to hold your small arrangements.
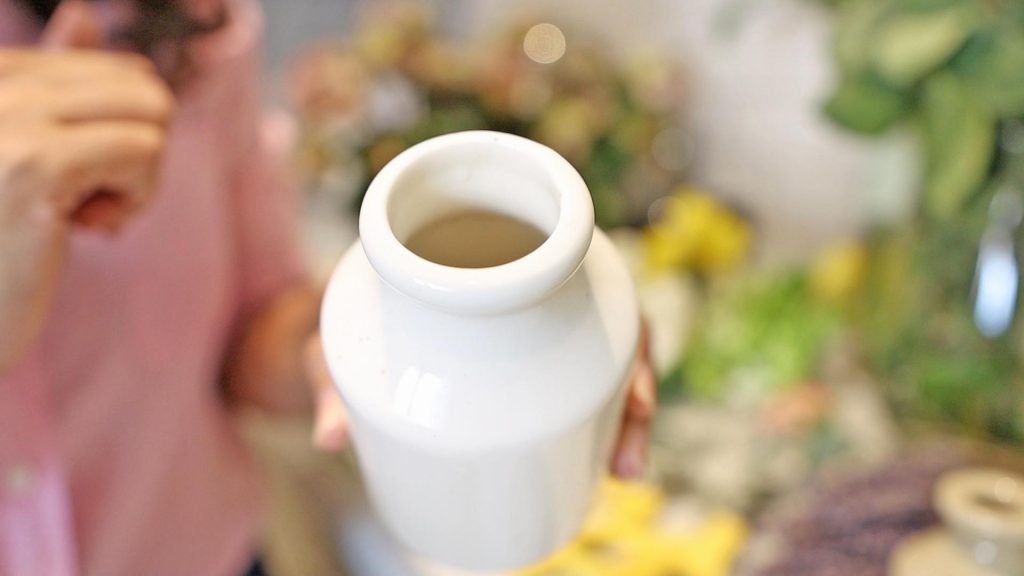
When selecting what your flowers will go into, look for short vases in alternating heights that taper closer to the opening. I’m choosing a neutral color palette here, but feel free to experiment with different colors to match your chosen blooms and interior design.
Choosing Florals
I let the season dictate my floral designs. Shopping for flowers in-season is an easy way to coordinate your flower design with certain holidays and stay within budget.
My second approach is to coordinate the color scheme of my floral design to the room. You can start by selecting the main color for your arrangement and then pick 2–3 other blooms in varying shades of the hue for a cohesive design.
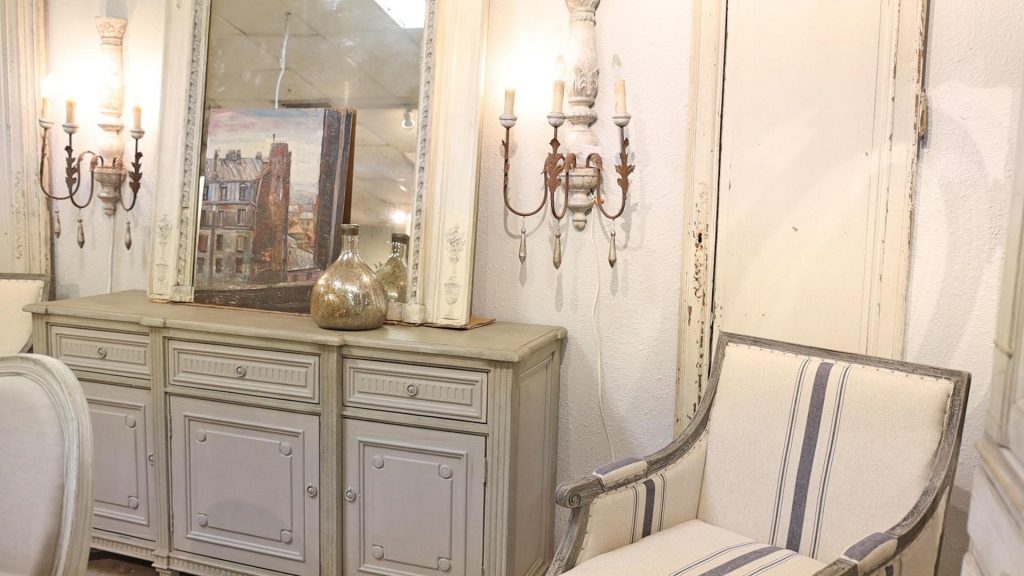
The room I’m placing my flower arrangement in has many beautiful rusty tones, blues, greens, and gray colors, so I’m using that to guide me. I chose some roses with green and blush rusty-tones, and I want to add some stems and more delicate flowers to complement the existing palette.

Floral Composition In Small Vases
Fill your vase about halfway with water and start with the easiest part. I like to drape a simple stem of leaves over the container. Eucalyptus leaves and olive branches work well for this and give a simple rustic look that works beautifully in almost any space.
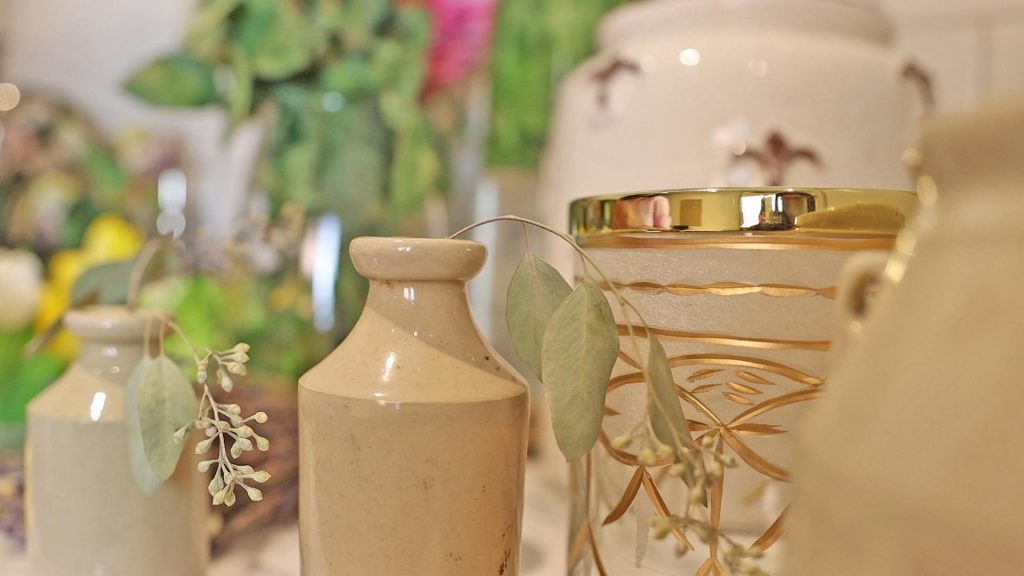
Now for a vase with a bit of a wider opening, I’ll add more robust flowers to tie the look together.
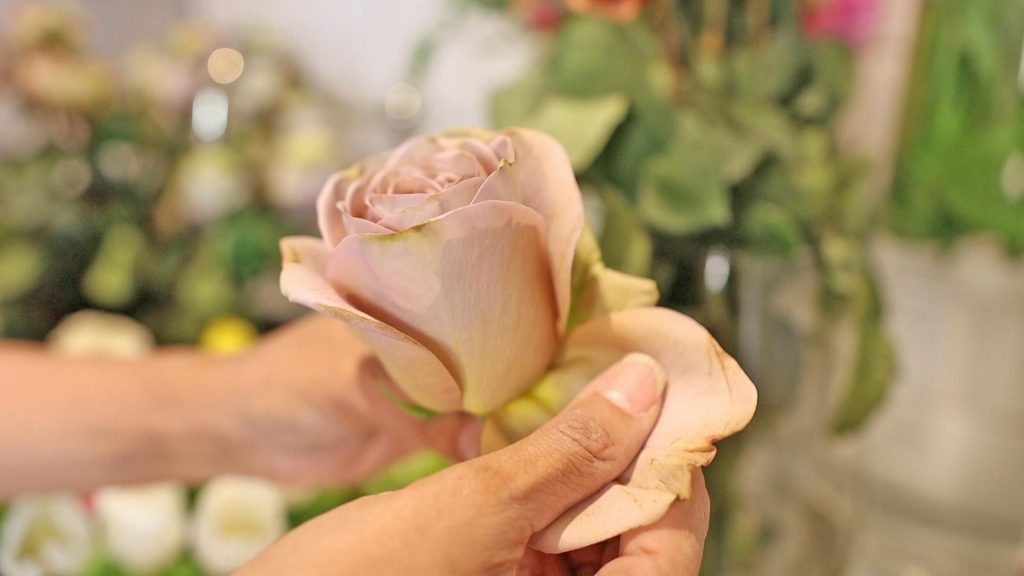
If you’re working with roses, be sure to mind the thorns and cut them off to make them easier to work with. I like to pull the outer petals of the rose and fluff a few petals out by opening them.
This is a very basic yet elegant floral centerpiece composition to add a bit of life and color to your modern farmhouse-style table. If you’re ready for the next step, let’s take your floral design skills up a notch.

Lesson 2: Working With Uncommon Vases
Let’s design something that looks a little more robust with a fuller arrangement of florals. Many of the same principles of selecting odd numbers and a cohesive color palette will apply here, but now we’re working in a larger container.
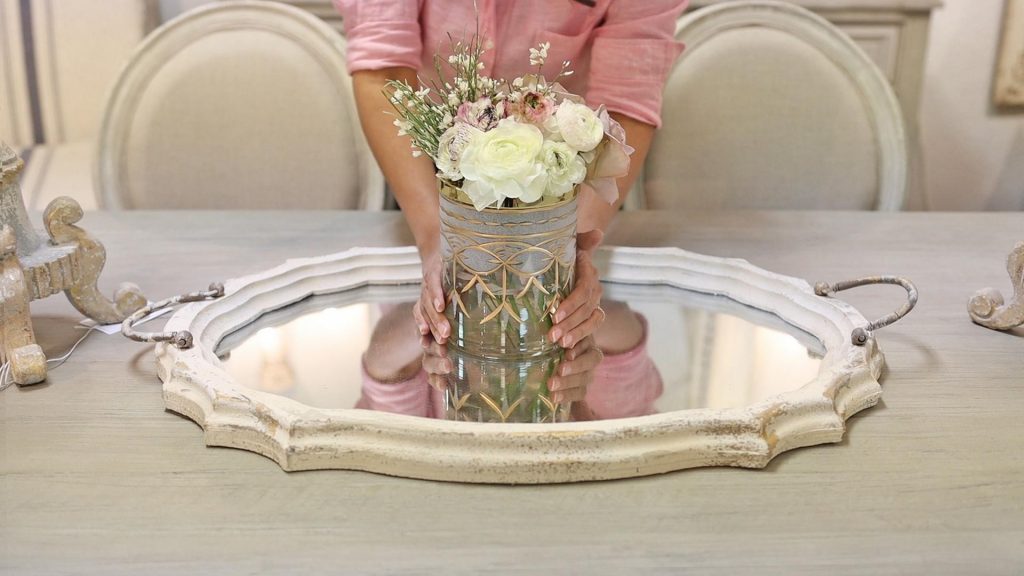
Choosing Your Vase
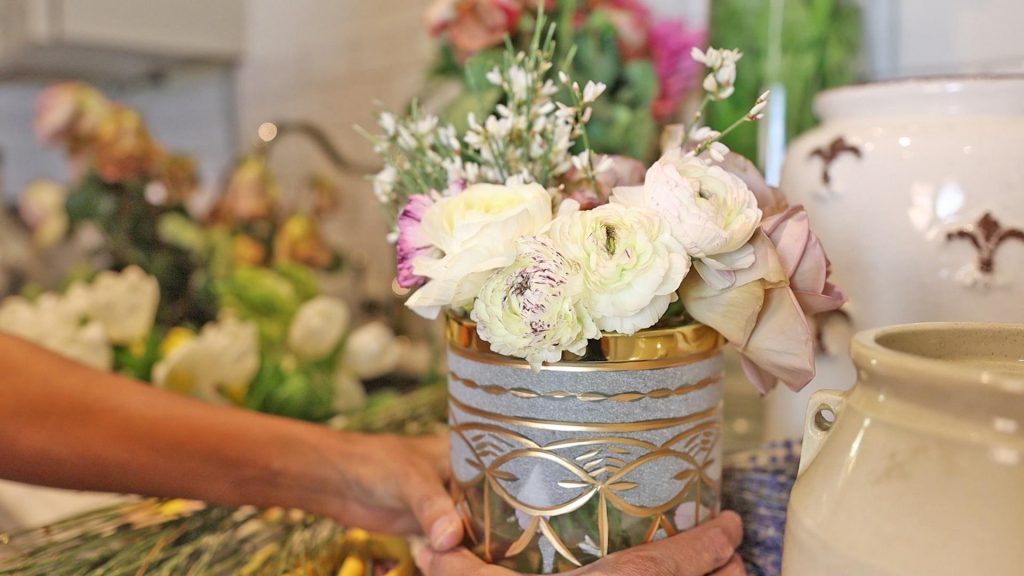
Cylindrical vases are common and versatile. This vase, in particular, is my favorite floral centerpiece tool. It has what’s called a flower frog.
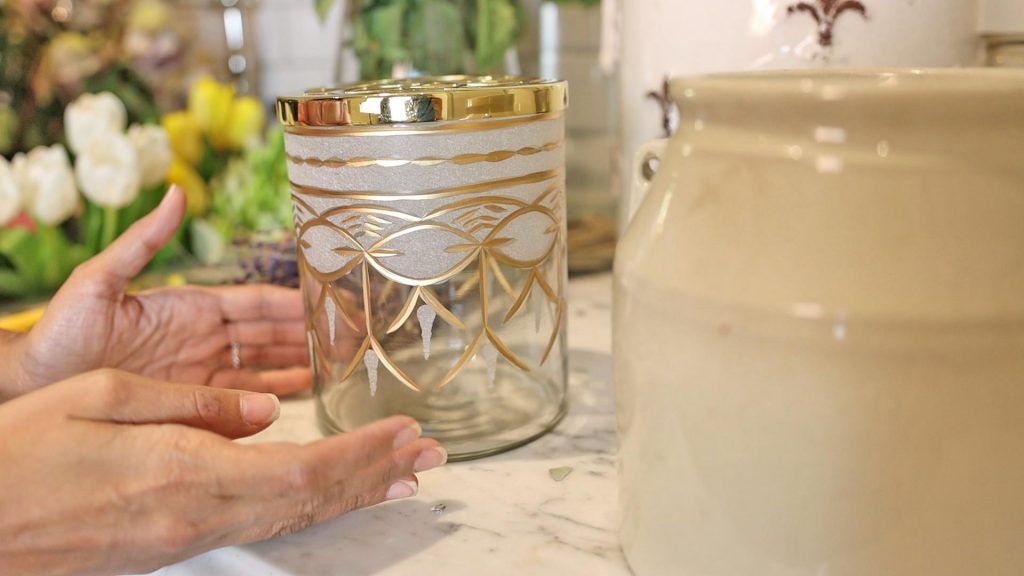
You can find flower frogs at antique stores, and they’re used to help arrange flowers. They sit at the bottom of your vase with spikes or a coil in it so that your flowers stay exactly where you place them.
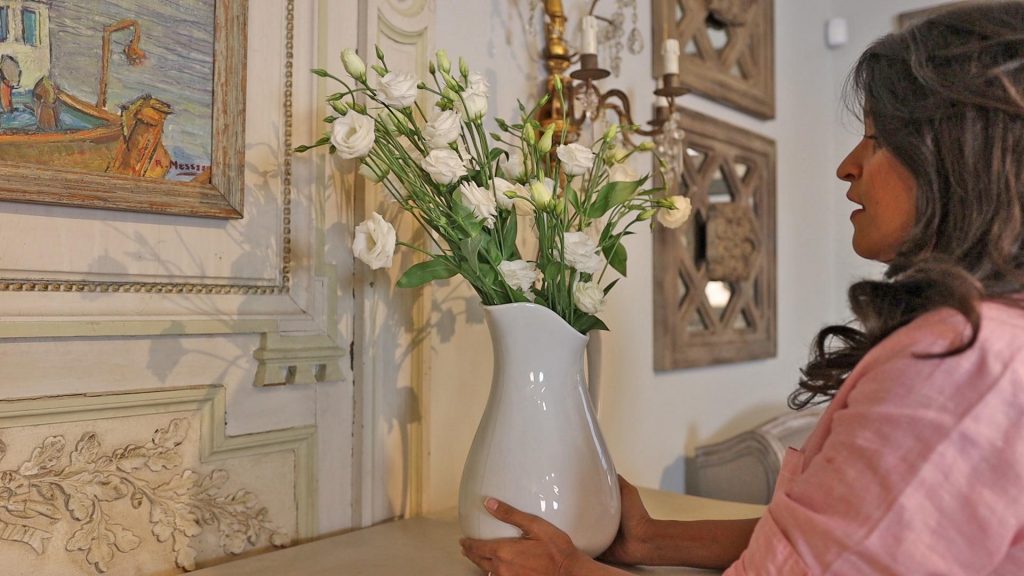
Another vessel I love using for farmhouse-style floral arrangements is pitchers. I love this ironstone pitcher because it’s so simple, elegant and allows my florals to stand beautifully with minimal effort.
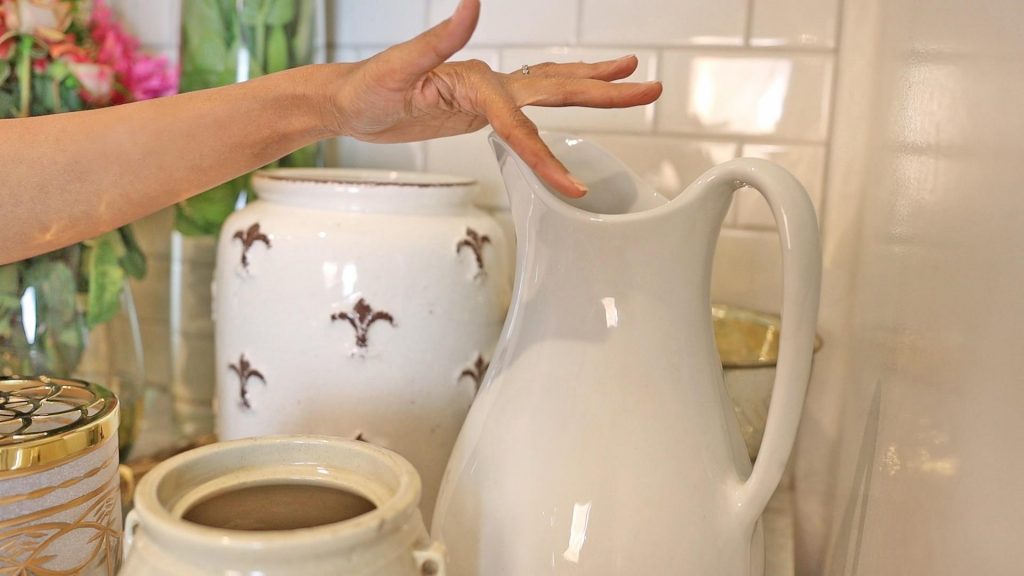
The Flower Frog Centerpiece
I’m working on a dining room project, so I’m taking color cues from the linens and rusty tones from the room’s old woods.
Start by filling your vase halfway with water. Then I’m using my floral shears to trim down the stems. If you don’t have something like this, a good pair of scissors will work fine. You want to make sure that you trim your stems on a diagonal so that the flower can drink water.
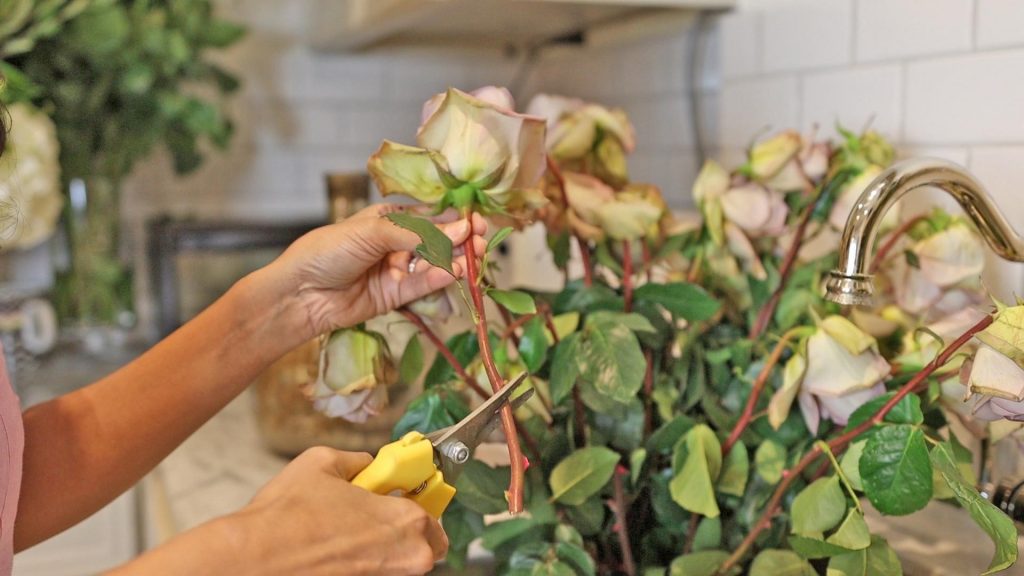
I’m using the same dusty mauve-colored roses from the first tutorial and placing them on an angle into the flower frog. When it comes to the placement of your florals, you’ll find that it’s a lot of trial and error. It’s an intuitive design process, and you’ll get a feel for what looks most appealing to your eye as you lay down your blooms.
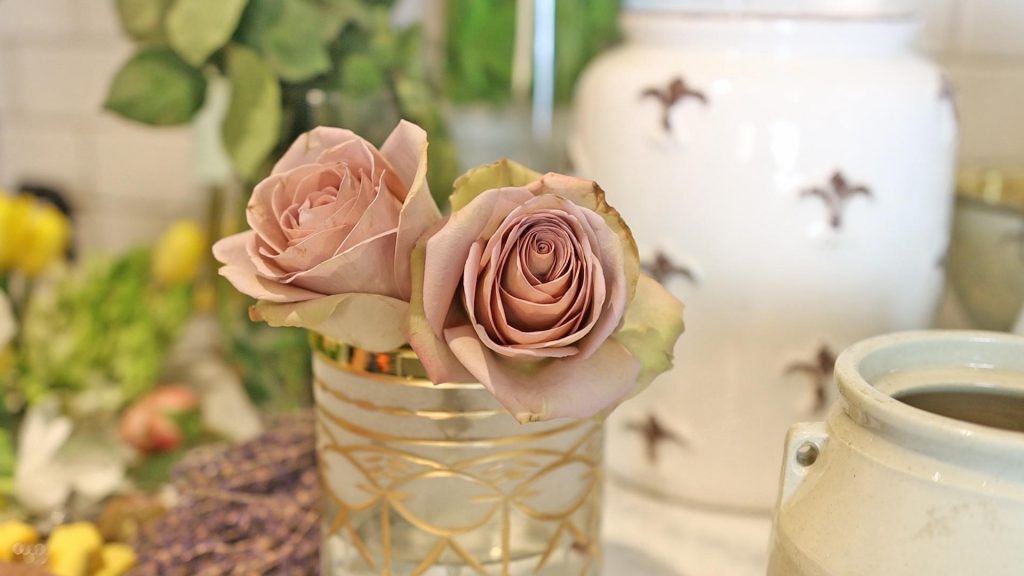
To switch things up, I found beautiful ranunculus flowers that have tight-ruffled petals. I also chose some carnations, a great budget-friendly flower that can add a lot of color and contrast to your DIY floral arrangement.
Genestra bunches have tall, slender stems with small flowers that cluster together beautifully to add a bit more interest and movement to your arrangement.
Pitcher Floral Centerpiece
Fill your pitcher halfway with water.
You can never go wrong with a simple bouquet of roses or hydrangeas in a pitcher vase, but today I’m using lisianthus flowers. Lisianthus looks similar to roses, but they’re softer and have more buds on a single stem.
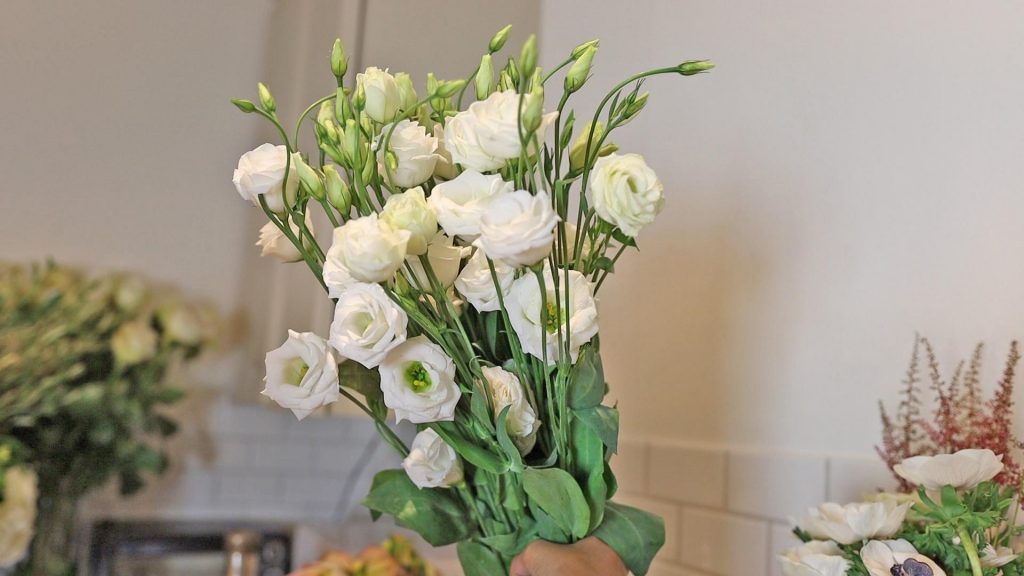
I want these flowers to have more height when standing in the pitcher, so I’m leaving a lot of length of the stems when trimming.
As I place these lisianthuses in, I’m noticing that the pitcher’s wide, irregular opening is allowing the flowers to sit in the container to allow for unique movement and flow.
How Do You Know When Your Arrangement Is Complete?
Consider the rule of balance when looking at your arrangement. It doesn’t necessarily mean that your arrangement should be perfectly symmetrical, but that it looks aesthetically pleasing to your eye. It shouldn’t look too heavy or empty in any particular area.
Once you feel a sense of balance looking at your home-made floral arrangement, you’ll know your work is done, and you can place it in your space to enjoy.
To help your fresh flowers last longer, make sure you change the water every other day.
Lesson 3: Floral Centerpieces Using Vases With Large Openings
Now that you have a better idea of creating a cohesive floral centerpiece arrangement, let’s take it to the next level!
Working with a larger vessel can feel quite intimidating because you’ll need many more blooms to fill your vase, but I’ll share my tips to making this process stress-free and enjoyable.
If you really want fresh flowers in your space without much fuss, the simplest way to achieve this is to use all the same flower styles like a bouquet of lilies or hydrangeas.

For an arrangement with more complexity, I like to select flowers from a few different categories:
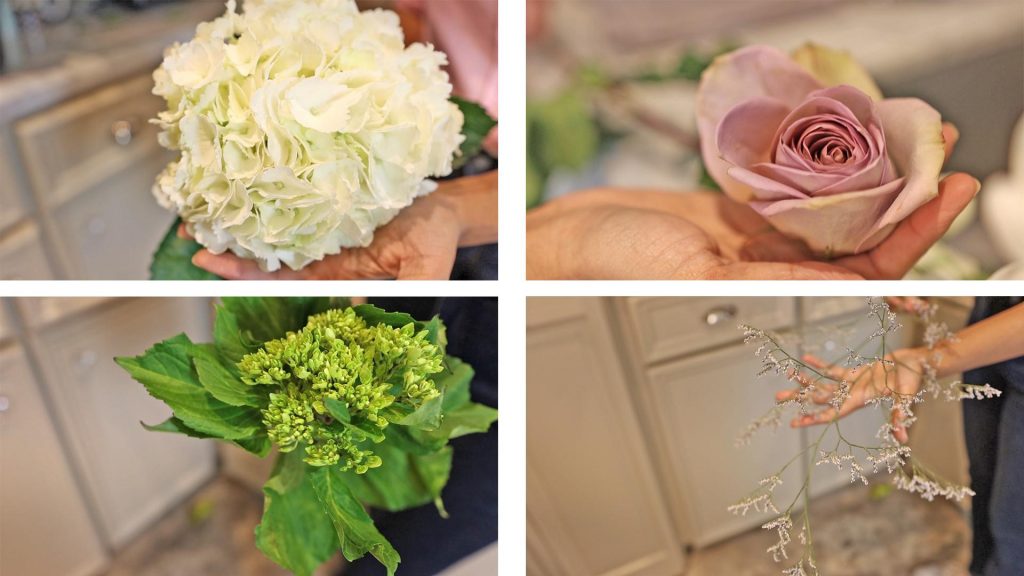
– A filler flower that takes up a lot of space (hydrangeas)
– Complimentary flowers (roses, peonies, ranunculus, and anemones)
– Stems (olive branches, eucalyptus, tall/skinny florals)

Once I have water in my vase, I’ll start by placing the largest flowers. If you arrange your stems in an interlocking web, you’ll notice that you’ll be able to fit more flowers in your vase, and they hold themselves in place.

Next, add your complimentary flowers in your design. You can cut them at varying heights to create interest and movement to your centerpiece arrangement. Don’t forget to bring in foliage like olive branches or eucalyptus stems to fill in space and contrast in color and texture.

Lesson 4: Bowl Flower Arrangements
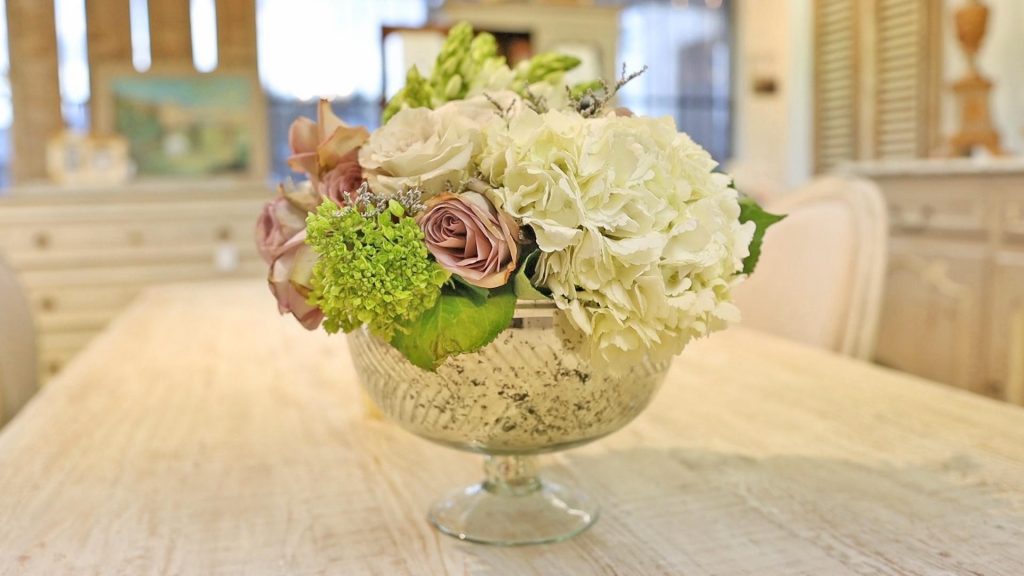
My favorite low-bowl formula consists of hydrangeas and a special flower, typically something in season that ties back into my decor or whatever event we’re celebrating.
The secret weapon to creating a bowl flower arrangement? Floral foam.

First, cut your floral foam to size while it’s dry to fit in a food container. Next, soak your floral foam with water. Then, place the foam into a food container before placing it into a decorative bowl.

When you insert your flowers into the foam, it will stay in place. I like to add my largest flowers first by placing them at an angle. Then I’ll add my filler flowers in to cover up areas of the foam.
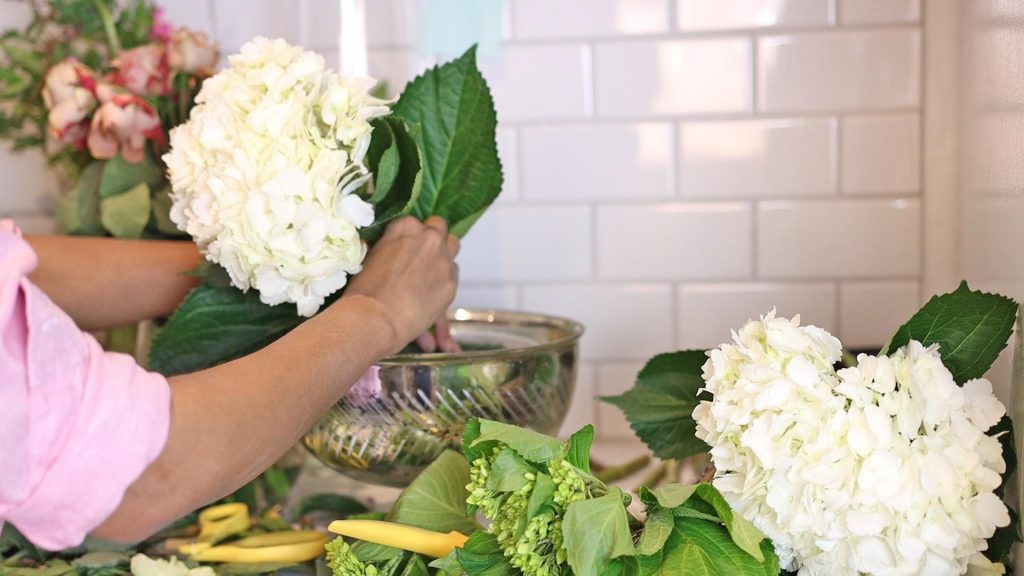
For bowl flower arrangement compositions, I like to think of creating a dome shape with the flowers. This helps to give me a goal and direction when arranging my flowers.

To make sure your design looks balanced, turn your bowl now and then to see that you’re not missing any spaces and that your overall design looks cohesive from all angles.
The Takeaway: Rustic Flower Compositions
Just have fun with your floral centerpieces! It’s really not as intimidating when you go in with a plan.
It helps to stick to 2–3 types of flowers in the same color family that matches your home design. Opt for seasonal flowers as it will make your floral design project much more affordable — inexpensive flowers can still create a statement.
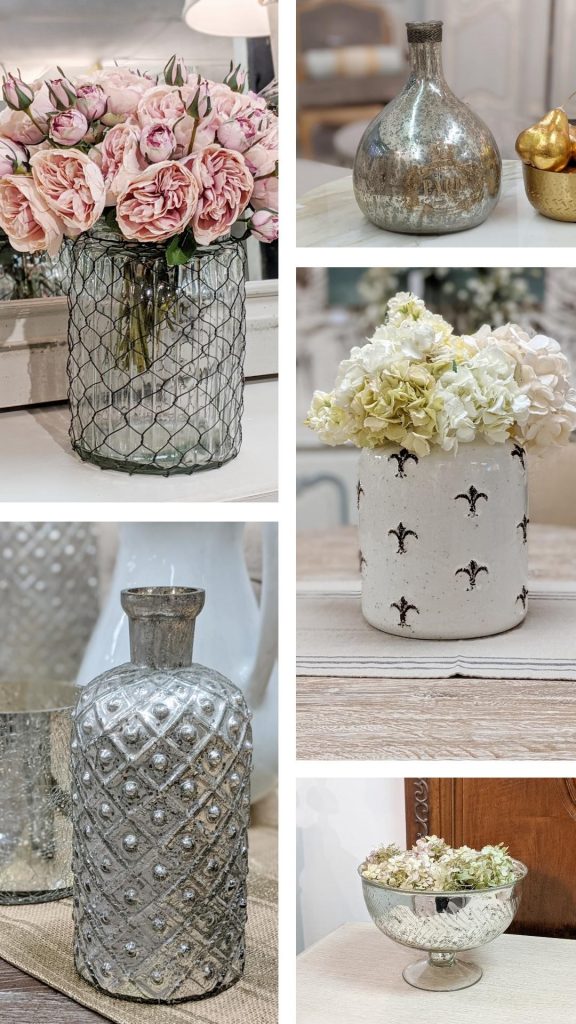
Use unique vases to mix up your arrangements. You can use a flower frog or floral form to make it easier to arrange flowers and help you keep your stems in place. All of the vases you see here today are available at Village Antiques in Houston. Or to have anything shipped to you, please contact us at (713) 468-3931.
Creating a fresh floral arrangement in your home is all about finding an appealing balance in your flowers’ shape, colors, and proportions.
If you have any questions after watching all of these tutorials, be sure to leave your question in the comments section below, and we’ll do our best to help you out.
Until the next time we meet, keep making your home and amazing with your design gifts!
Inspiring you to create heart in your home,
Amitha

Secret Tool Revealed
High-priced interior decorators desperately want this hidden: YOU can transform your home into a gorgeous dwelling—all by yourself—and save thousands. All you need is a few dollars’ worth of material. Access this amazing secret RIGHT NOW, and revitalize your home...in just a few hours.


