Amitha's Blog
Step-by-Step Guide for Creating a Beautiful Thanksgiving Table, Tablescape Trends & Tips
We were planning on having a quiet Thanksgiving this year.
As of last week, we were planning a little cooking and decorating party, just the four of us – Hubby – Bobby, and our sons Rohan, and Devan.
Earlier this year, in January, I had reached out to my brother and sister and asked if I could host Thanksgiving. They both declined and said they were going to be at their respective in laws.
In a last minute change of plans, my brother called last weekend to tell me they want to come to Houston after all. Him, his amazing wife Jamie and their beautiful, three kids.
A few days later Jamie asked if her parents and grandmother could come – to which I said of course!
Then my mamma decided if they are all coming she’s going to bring two of my aunts and their families as well.
Say what!?
What started out as a cozy Hallmark-movie-binge-watching holiday weekend, has gone full Thanksgiving blowout! (Yes, I’m addicted to those movies!)
So this week, I’m jumping into my Thanksgiving decor, asap.
As I was working on this, I thought you might like some of these tips too dear friend. So we put together a video to share some quick and easy tips with you.
Wondering how to do this yourself? Click to watch this video. I’ve also written down the basics for you below so you can go step by step.
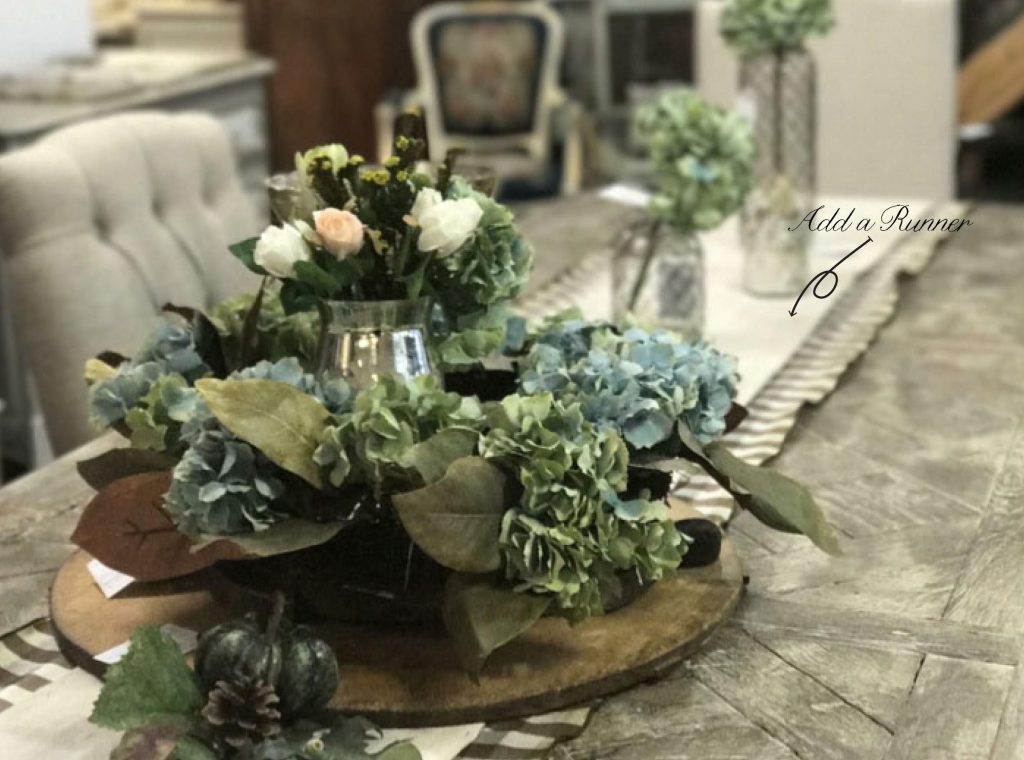
1. Start with a runner
Step 1, add a runner down the center of your table. Whether round or rectangle table, a runner adds warmth and coziness without feeling too formal.
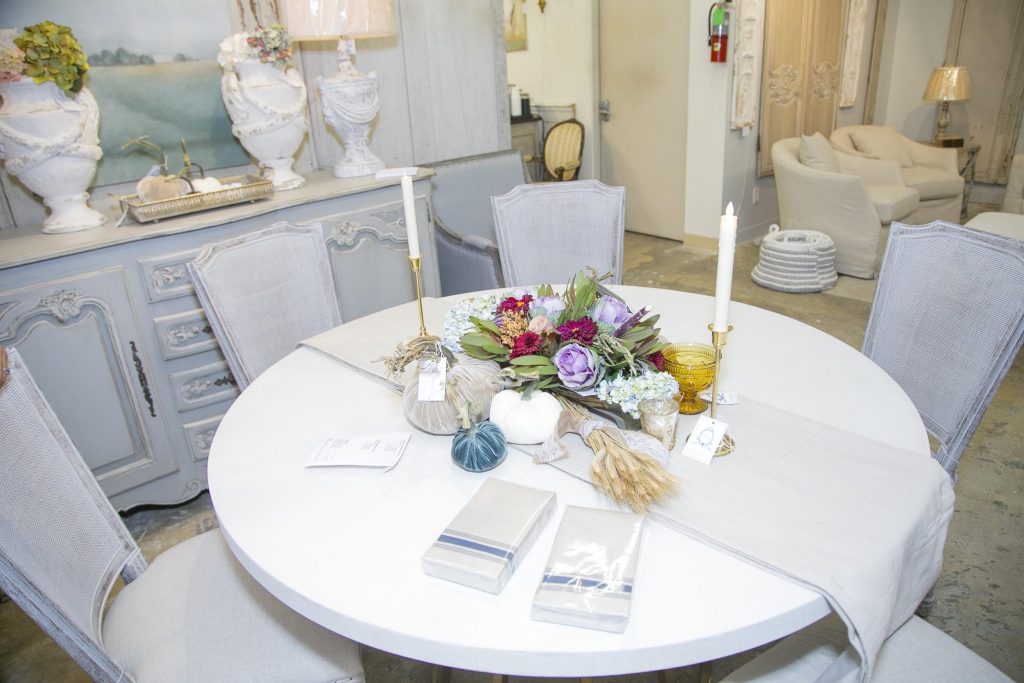
I suggest approximately 16” wide.
Watch the video for the crazy designer hack I came up with for my dining table runners. I use these every year on my dining table, for my Christmas tree skirts and more!
This year, I wanted to change it up a little bit, so instead of my usual, I opted for a few yards of fabric folded over to give my table a bit of French Country charm.
This is a quick and easy way to change up your decor instantly without a big financial commitment.
This year I opted to match my decor. You can match your decor or go all out in traditional holiday colors!
Another way to mix up your table is to take my original designer hack, and add a ribbon to the ends.
2. Middle Out
Step 2: Start your table design with the center of your table. Decide what your centerpiece is going to be, and set that down first.
What should you use for your centerpiece? Here are some ideas to get you started!
- 1.Food served on:
- a.Platters
- b.Breadboards
- 2.Dough Bowls filled with decor
- 3.Seasonal Decor
- 4.Flowers Arrangements
- 5.Nothing, sometimes less is more. When I do this I opt for something continuous down my table such as smaller flower arrangements or a simple garland mixed with flowers.
This year I’m going to use these absolutely stunning, very luxurious, velvet pumpkins from Village Antiques.
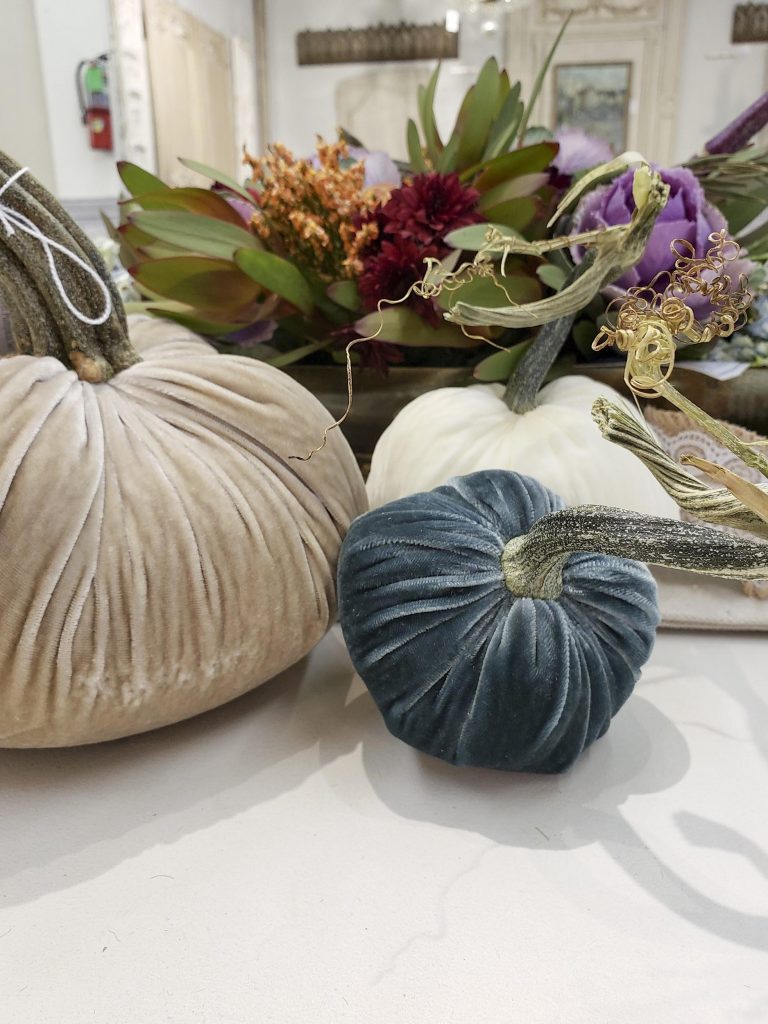
This is the first time I’ve found such stunning, high quality velvet pumpkins and I can’t wait to use these as my centerpiece.
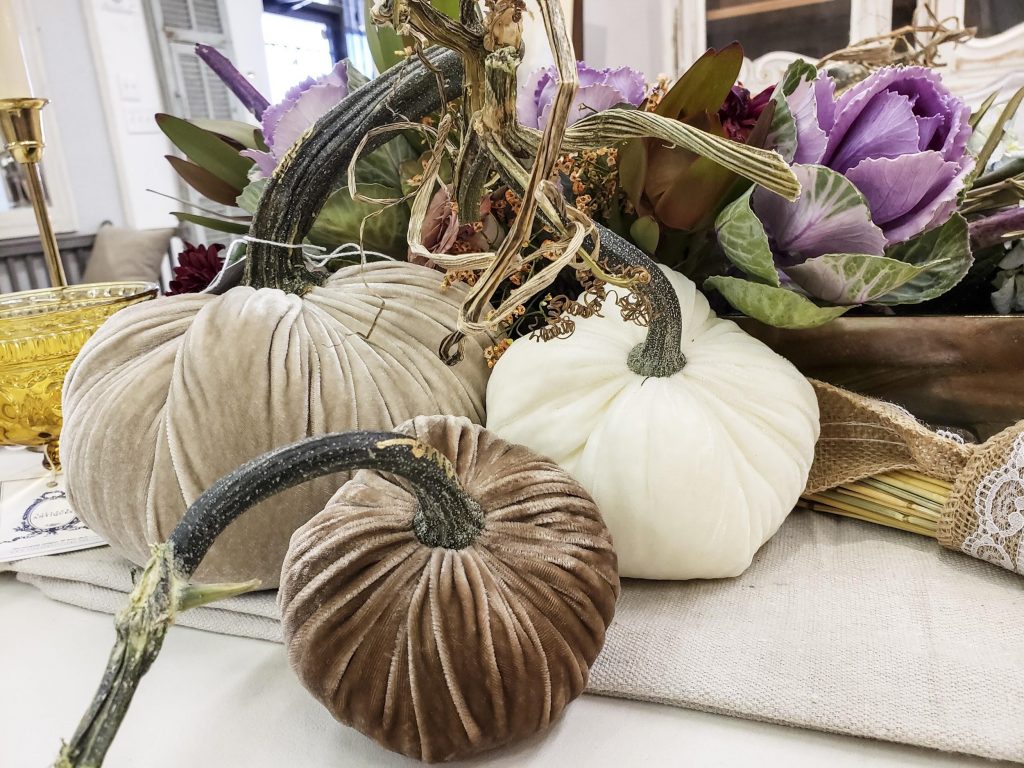
I’m obsessed with all of these gorgeous colors that I found to go with my home decor. (They have several color options)
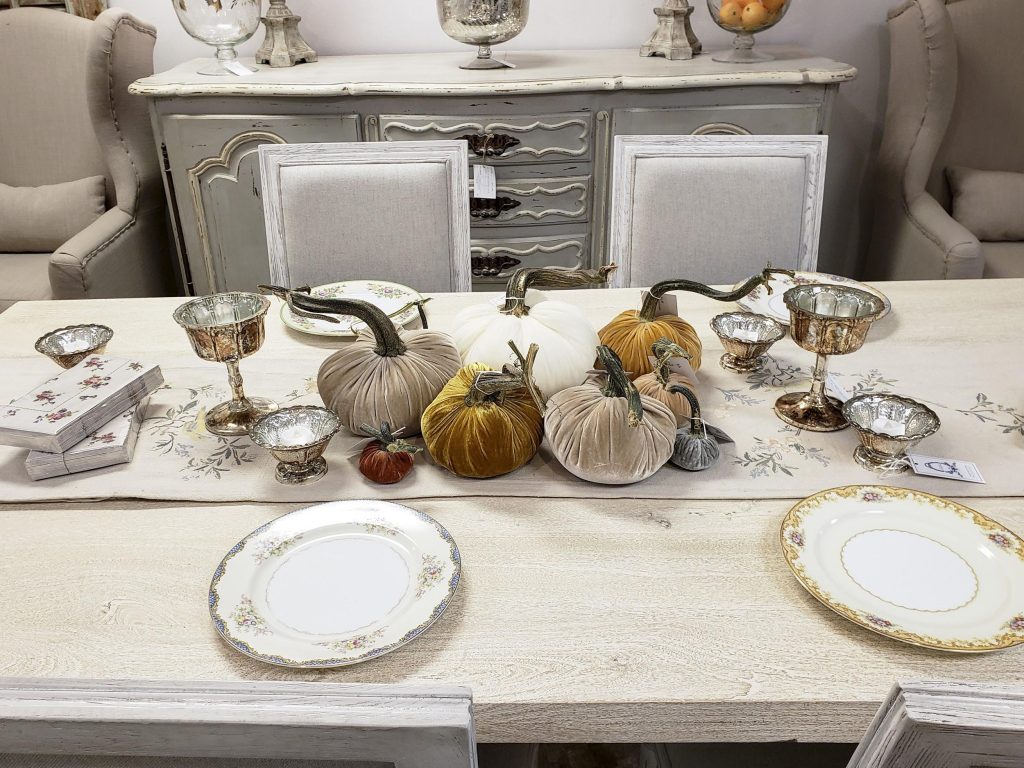
3. Vases & Bowls
Step 3: Start adding your vases and bowls on one side of your table.
Don’t do the whole table just yet, pick the left or the right side.
I tend to select vases and bowls that can be used all year round for different occasions like these from Village Antiques.
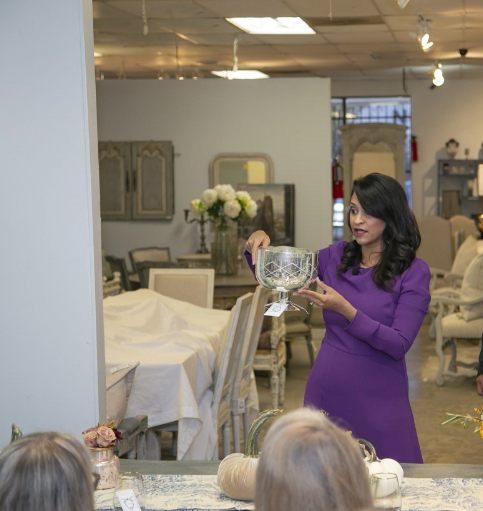
Once you’ve figured out the perfect arrangement, you can copy that layout on the other size.
I tend to opt for lower height containers so I can be sure the conversation is flowing easily.
4. Nature Inspired
Step 4: Add in some greenery
You can do this with leaves, garlands, and / or stems.
This is something you can change up every year, easily and quickly/
This year we’ll be using these gorgeous soft gold toned wheat bundles as our nature piece.
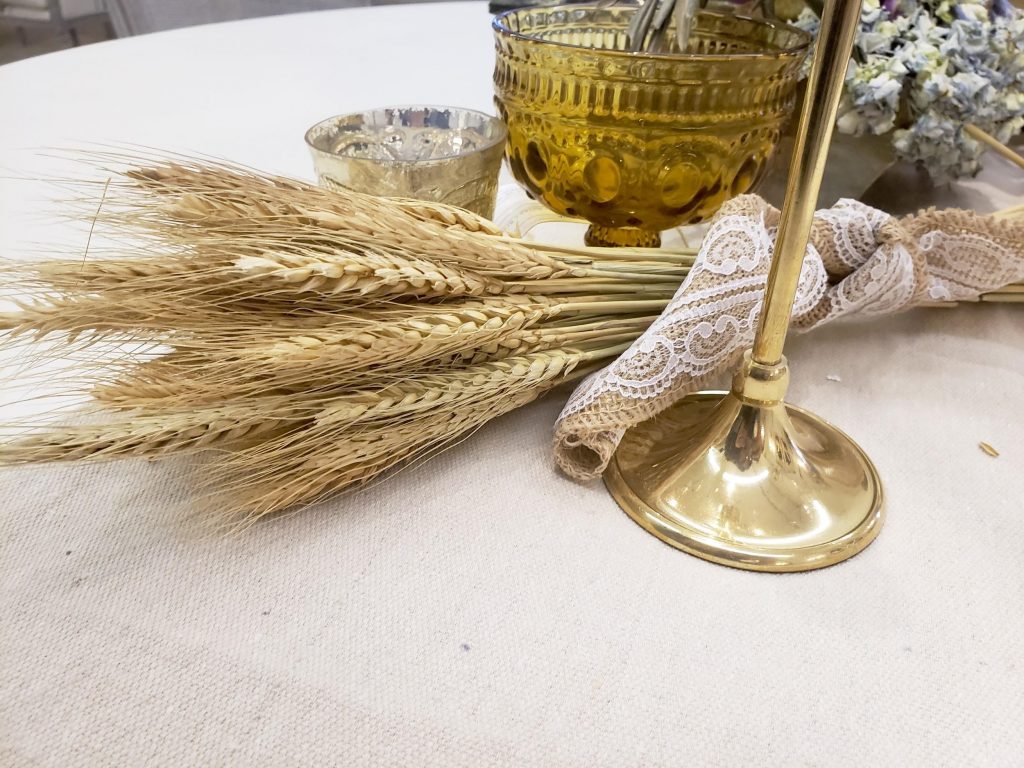
This is a great way to bring in one of the biggest trends we are seeing, the return of GOLD! Yay!
5. It’s all about Ambiance
To create the perfect ambiance, adjust your lighting.
Dim those bright overhead lights by about 25%.
Then add in LED candle-lighting in 3 to 4 spots on your table, with these gorgeous votive holders.
THis year, I’m mixing these high votive holder with these lower ones.
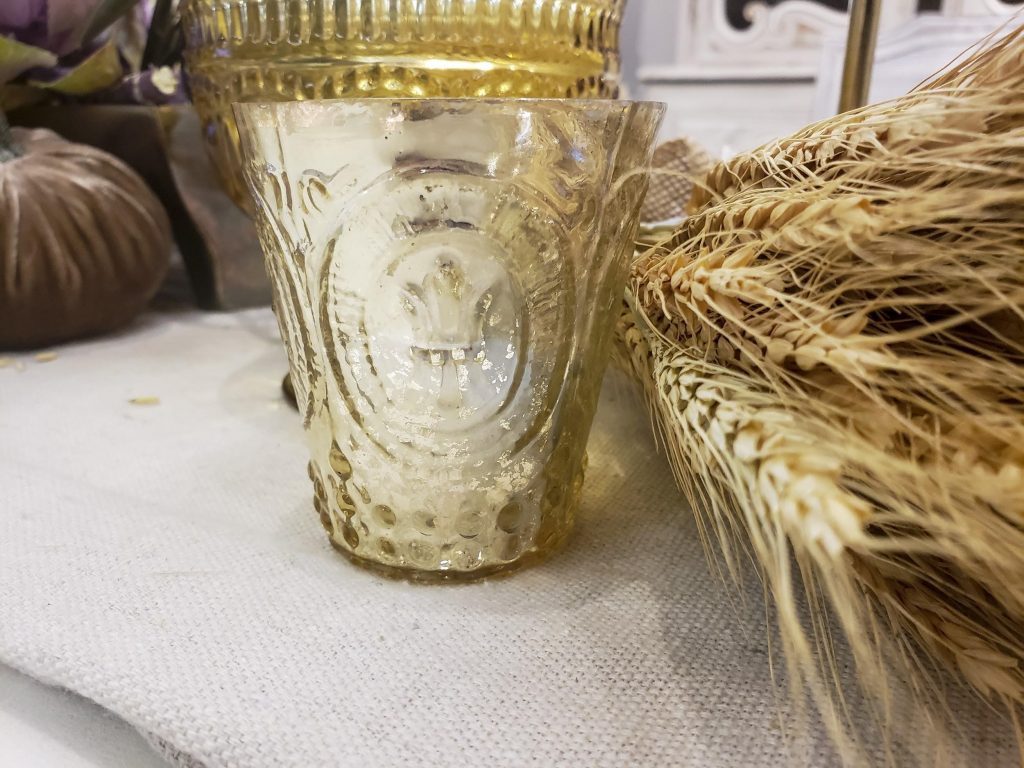
Need something bigger to take up more space, these are a great option.
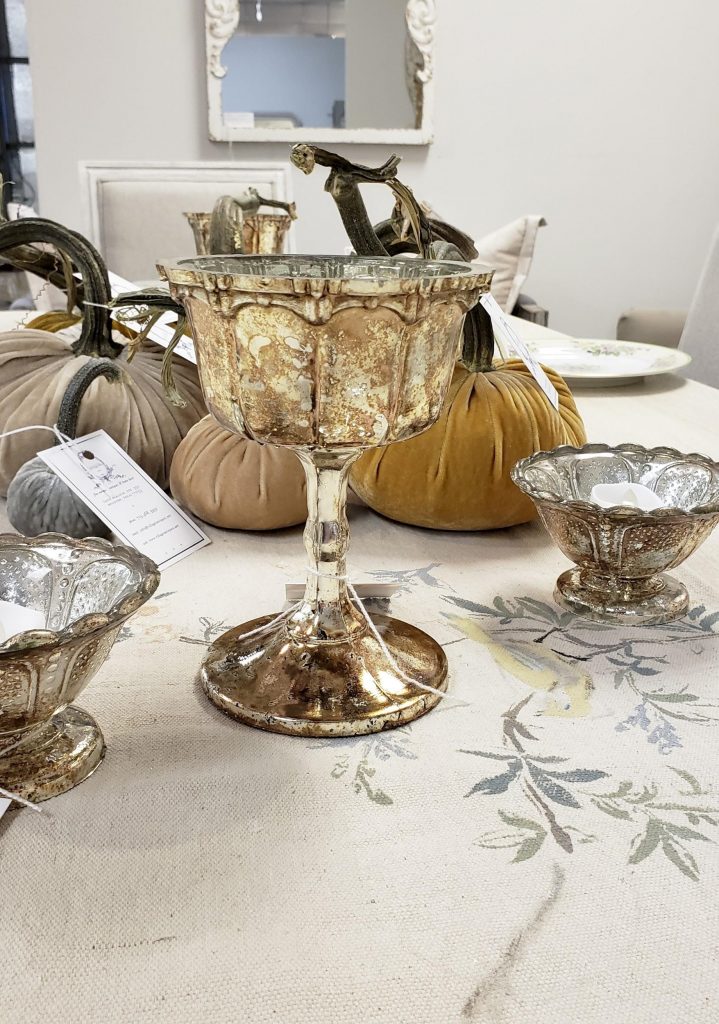
And there you have it, instant fall table!
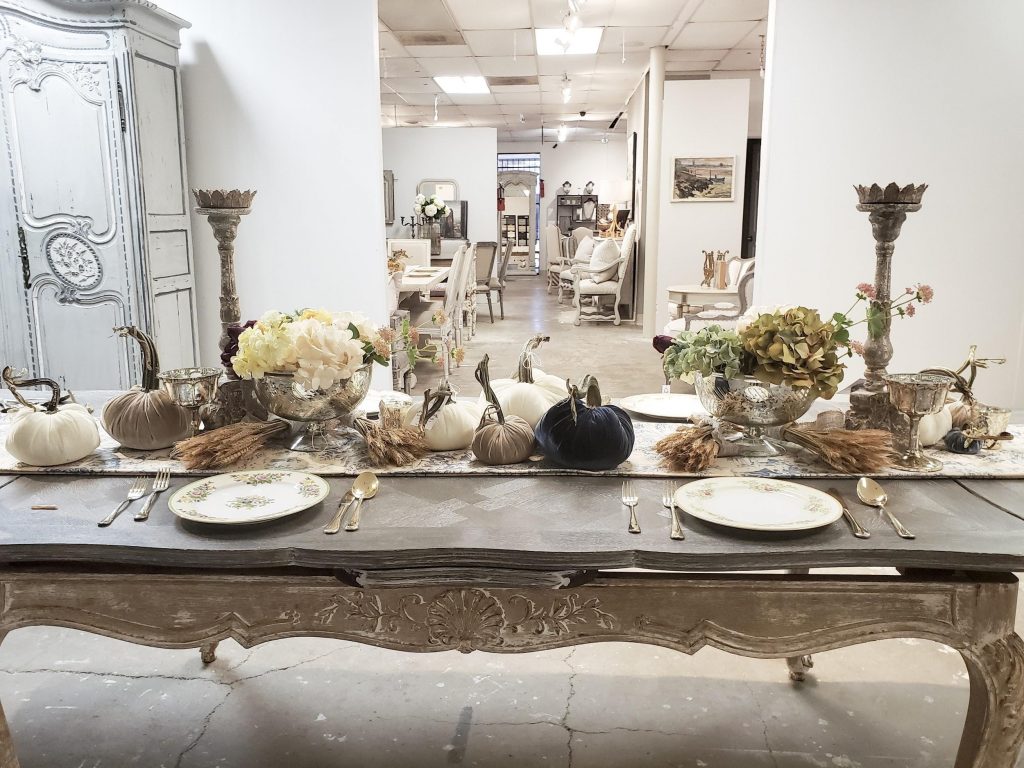
So what do you think? Are you inspired to get your table decor going?
Leave a comment and let us know.
Most everything you saw today is available at Village Antiques. Stop in today to see these plus loads of new arrivals.
If you’re not sure how to put it all together, any of their friendly staff will be sure to help you create a dream tablescape!
Happy Fall Decorating!
With love,
Amitha

Secret Tool Revealed
High-priced interior decorators desperately want this hidden: YOU can transform your home into a gorgeous dwelling—all by yourself—and save thousands. All you need is a few dollars’ worth of material. Access this amazing secret RIGHT NOW, and revitalize your home...in just a few hours.


