Amitha's Blog
The Perfect (Simple) Furniture Makeover Project to Get Your Feet Wet!
I’m surrounded by doctors. Many of my friends, my Dad, my brother, are all docs, and I’ll tell you this, my anxiety has been through the roof listening to what is unfolding.
It’s paralyzing, don’t you agree?
The only thing I can say I consistently do is check the news, which does nothing to help the situation!
I’m grateful we are all informed (albeit sometimes over informed).
I pray for the health of everyone and the resilience to fight this silent war.
While we’re in self quarantine, and in our homes, what do you do in the meantime?
Buy lots of toilet paper? Sure it makes you feel like you’re doing something but then what…?
Over the years, whenever I’ve experienced anxiety, there is one thing I’ve turned to to help me get through it.
Create.
There’s wine, Netflix, and more, but this one way, takes me way out of stress mode.
Don’t roll your eyes and say you’re not creative. We all are, in our own unique, God given ways.
So over the next few weeks, I’m going to try to share projects with you that will help you get through quarantine.
To start, I’m sharing a project that will take you into the zone. I often say it’s therapeutic, so I suggest we all get one done in the next few days!
That being said, don’t you just love a good makeover?
I sure do.
There’s nothing more intriguing than seeing those “before and after” pictures of the finished product!
I don’t care if it’s a whole house, a single room or even just a small piece of furniture.
Speaking of furniture makeovers, my advice to my clients has always been to start small.
So, you can imagine my surprise when our new clients, Gail and Bob, stopped by the shop last week with one of the biggest I’ve seen in a long time!
They actually came in with 3 pretty significant projects, and as much as I wanted to tell them to jump in, I knew that was the wrong advice for them.
Instead, I suggested they start with a small drawer front – advice that left them admittedly underwhelmed.
They needed a little more inspiration.
So to help them, I decided to share one of my own projects – the makeover of a nightstand.
It’s the perfect “get-your-feet-wet-until-you-get-the-hang-of-it” project.
If you’ve ever used my paint, Amitha Verma Chalk Finish paint, you know it’s super easy. You cannot mess it up and it’s so fun! I’d even say it’s therapeutic. You just get in the “zone.”
Initially, this piece is in okay shape. Not great, not bad. The reason I decided to do the makeover, however, is that the color just didn’t go with the room scene.
You see, in this particular room, we were going with some softer colors, and this black cabinet was sticking out like a sore thumb!
So, instead of buying a whole new piece, I decided this would be the perfect project for a makeover.
I absolutely love the classic lines in this piece, like the fluted legs, and this beautiful brass arcade on the top – just lovely!
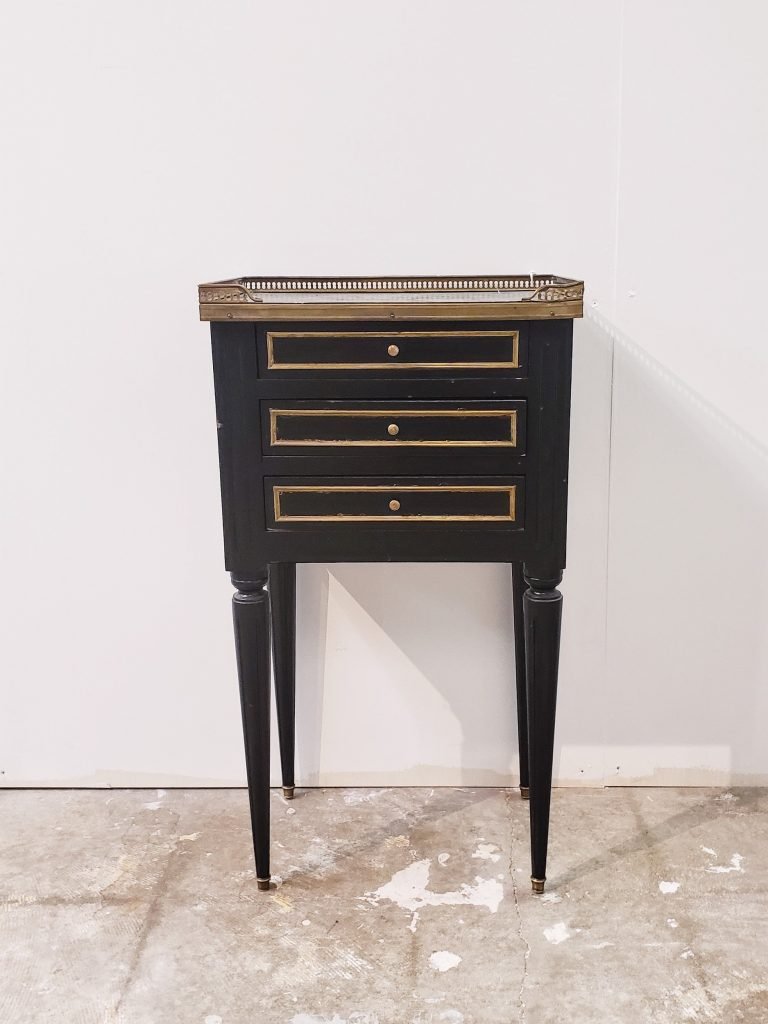
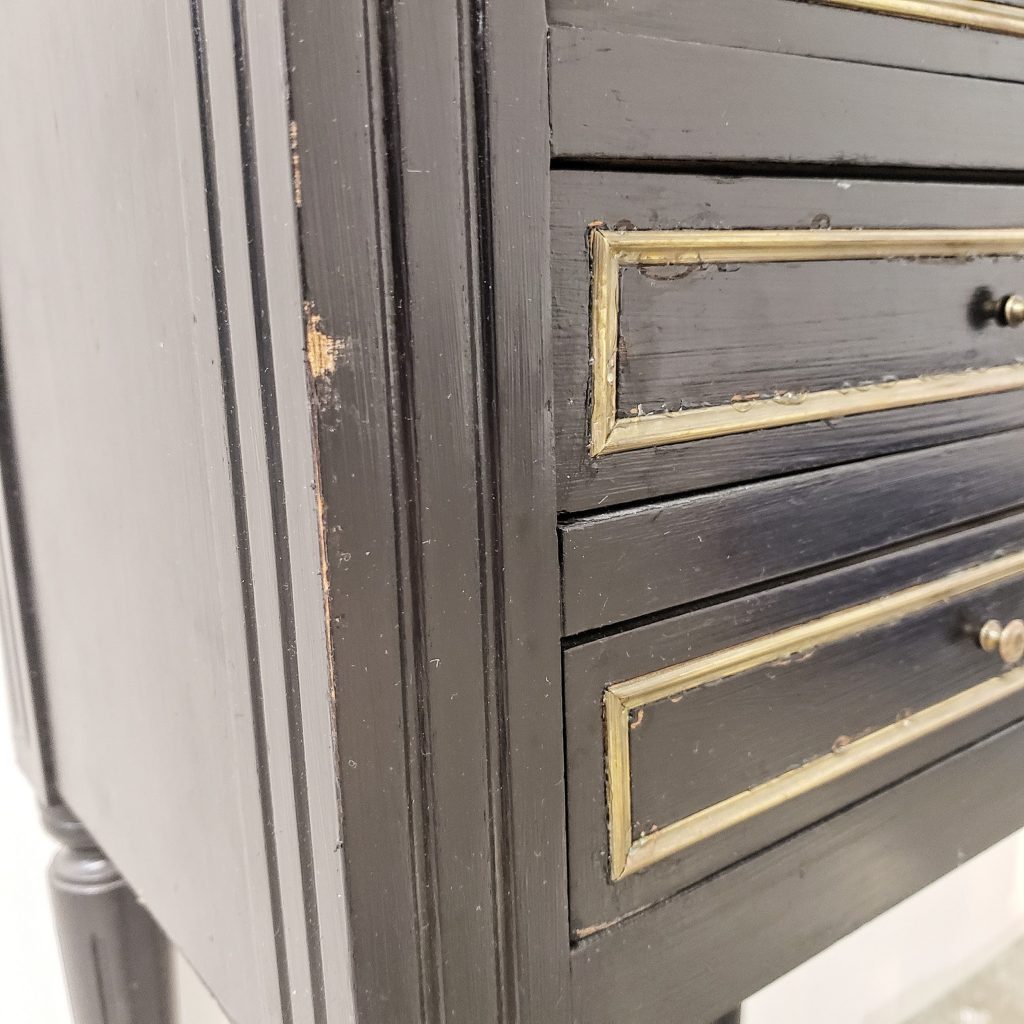
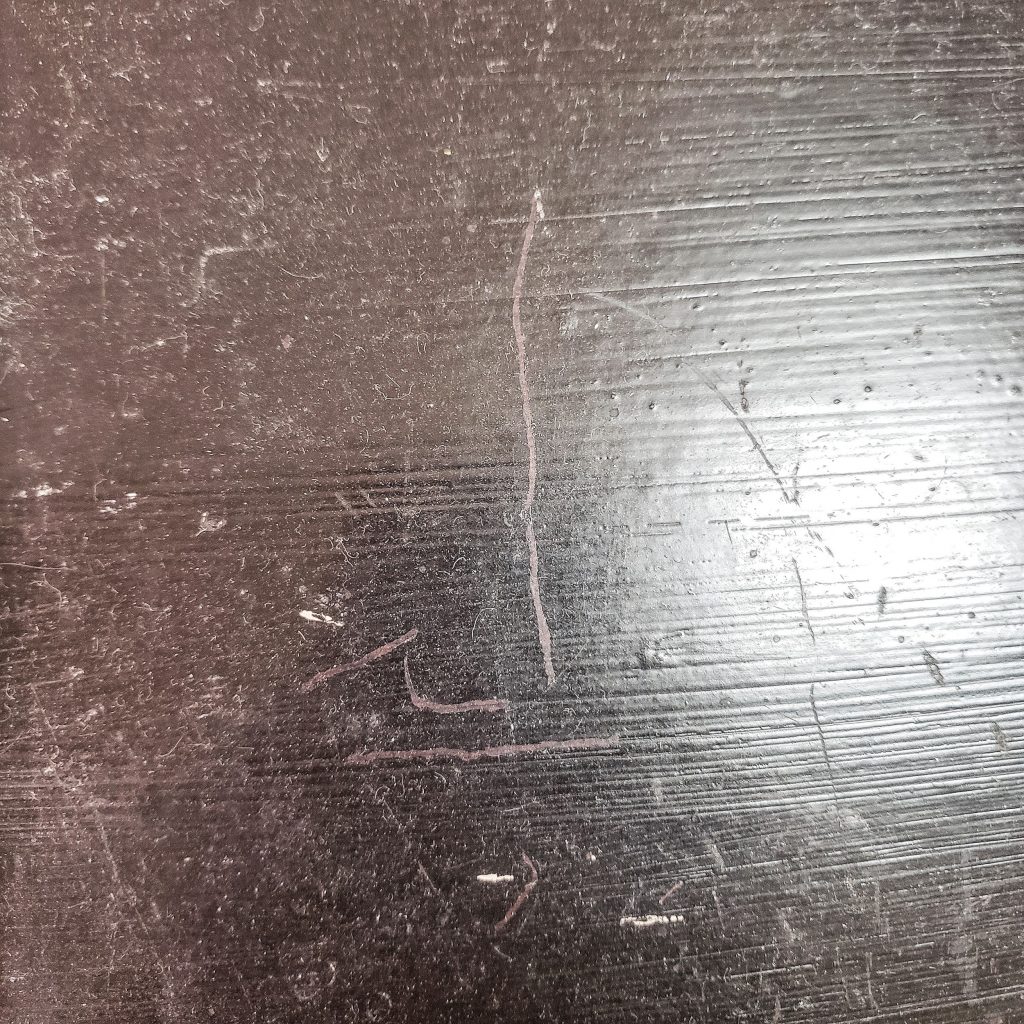
Here’s how I transformed it into the beautiful piece it is now.
First, I used mineral spirits and a white cotton cloth to give it a good scrub down. This gave me a nice clean surface for my paint to adhere to.
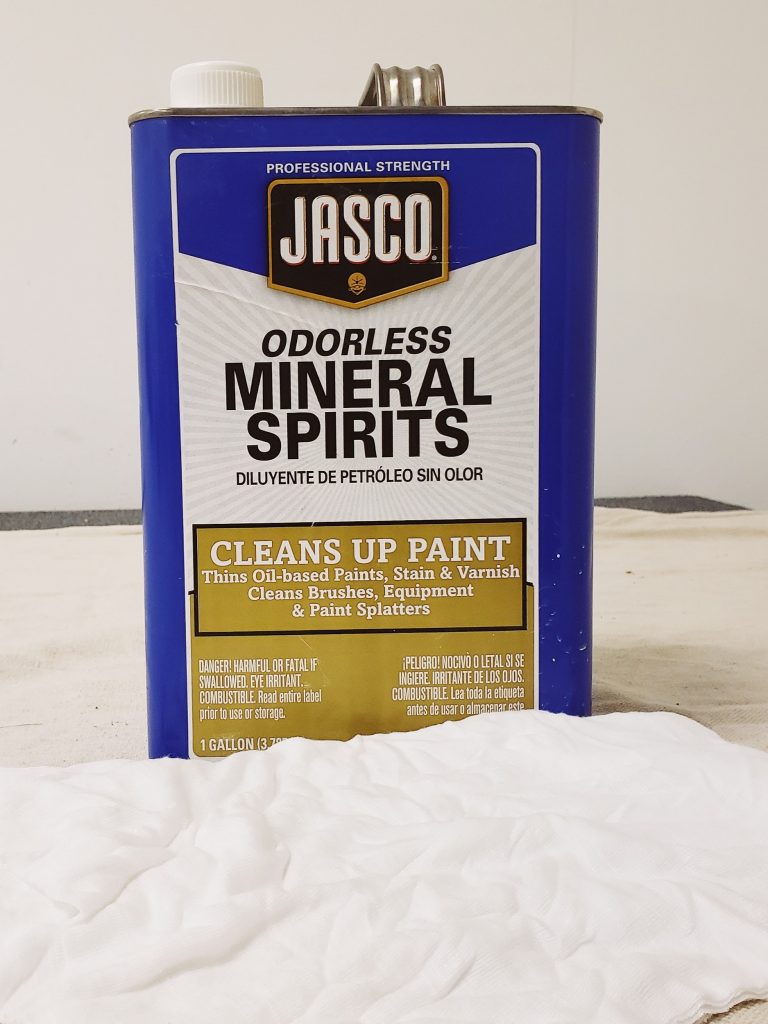
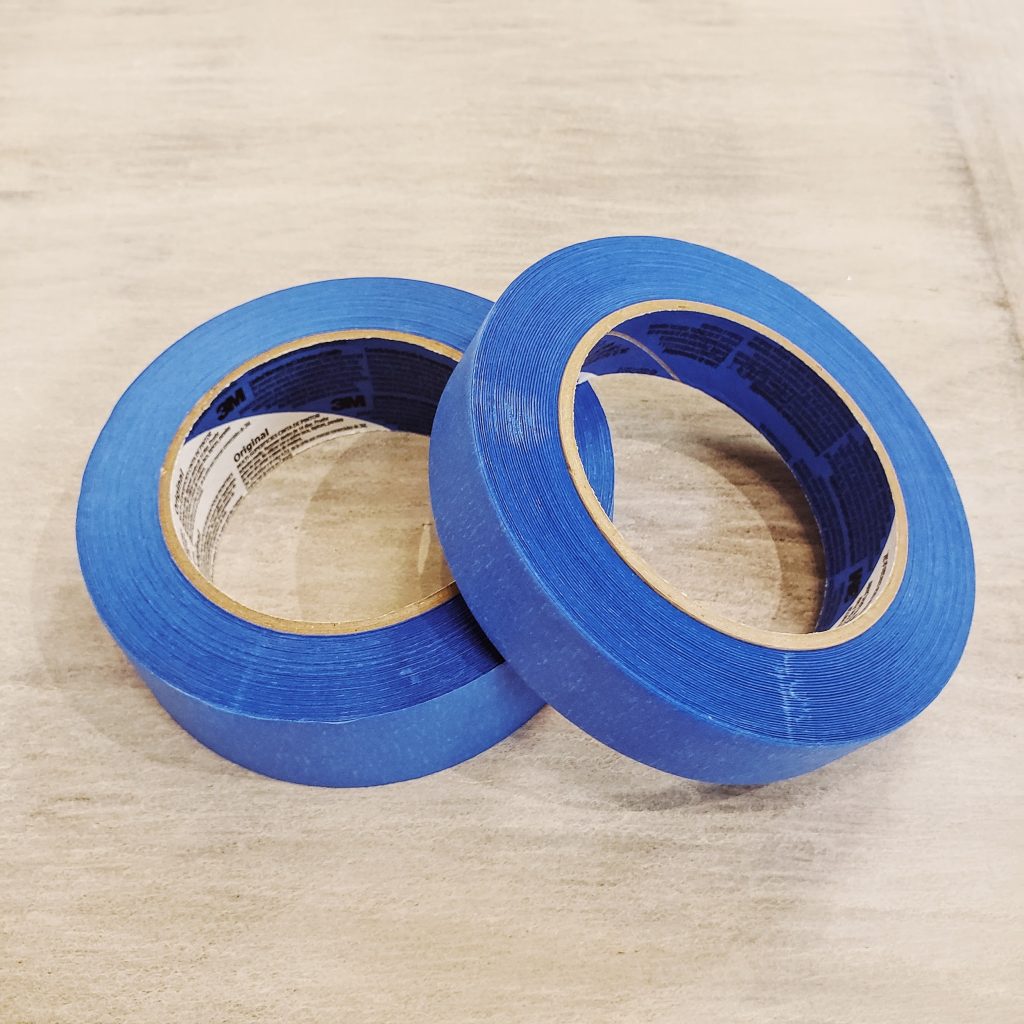
Next, I taped the parts that I do not want to get painted, with blue tape. I absolutely love the brass metal arcade detail and do not want to paint it. This bit of gold is going to add a lot of elegance to my project!
Believe it or not, painting your project is not going to be the hard part. You might think it would be but once you start, you’ll see this is actually the easiest part.
The hard part is actually selecting a paint color. But I’m going to tell you the trick to making it less than a five minute process.
Ask yourself, where are you going to put this piece?
When you decide on which room it’s going to go in, take color cues from that room. What else is in that room, what other colors, etc.?
Then use those colors to guide you.
If I look at my fabrics, I know French Gray or Belgian Blue would be my best color options.
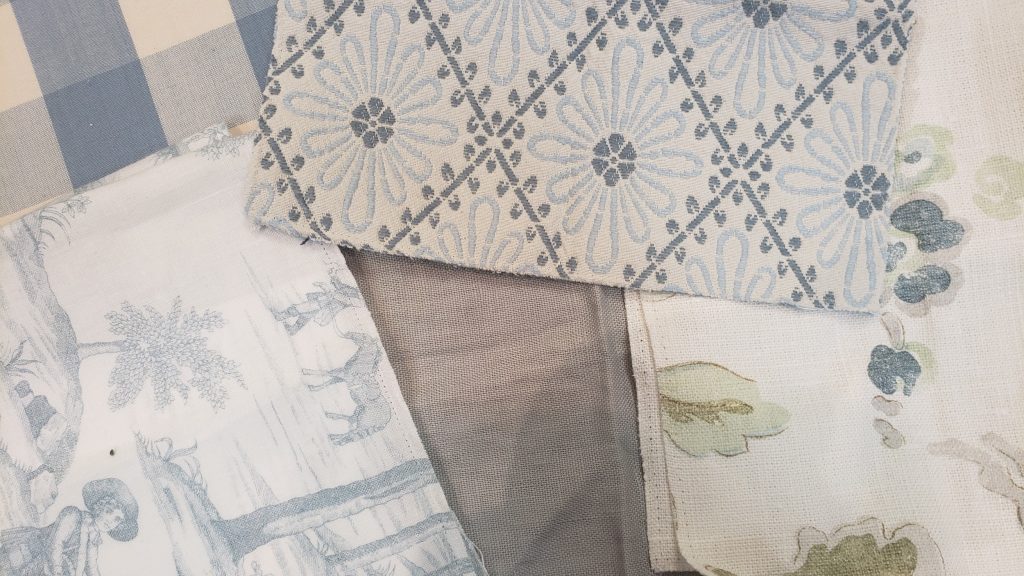
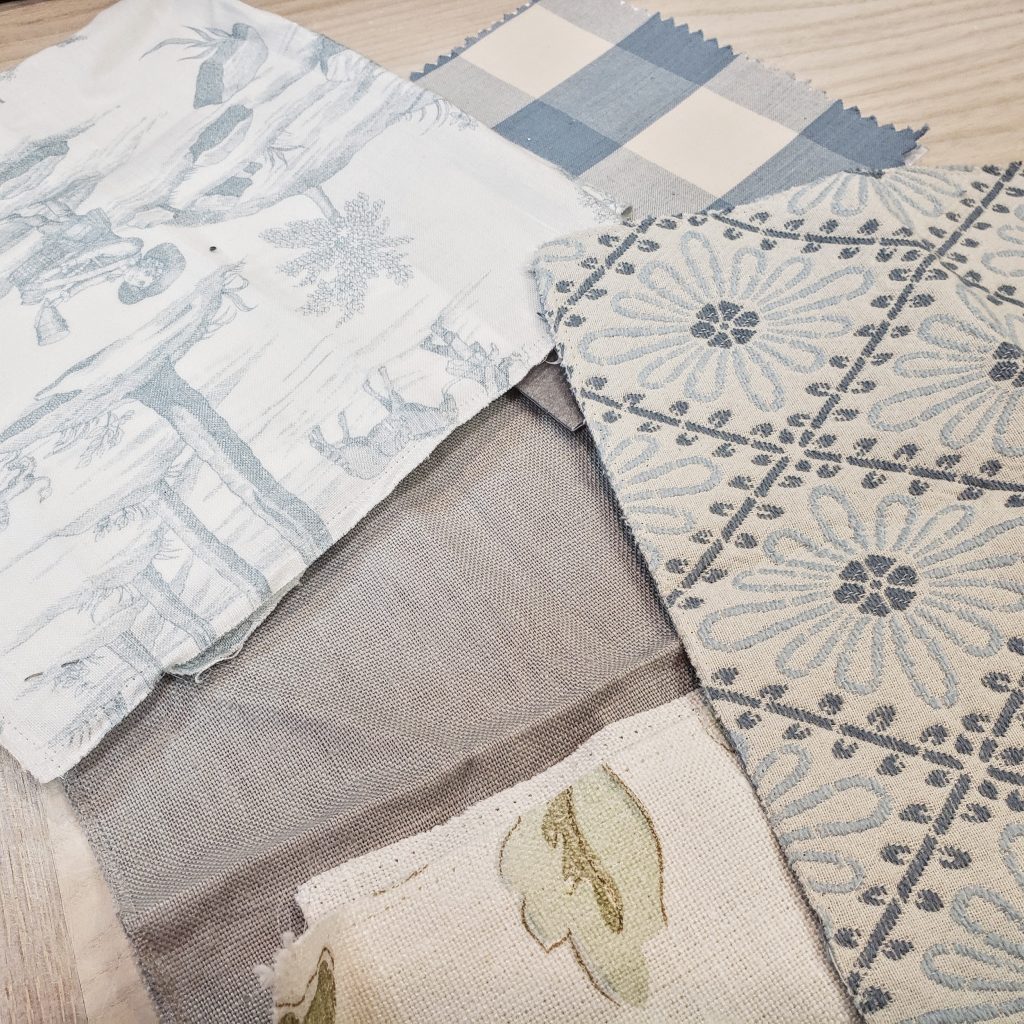
For this piece I want to go into a little lighter hue, so Belgian Blue it is!
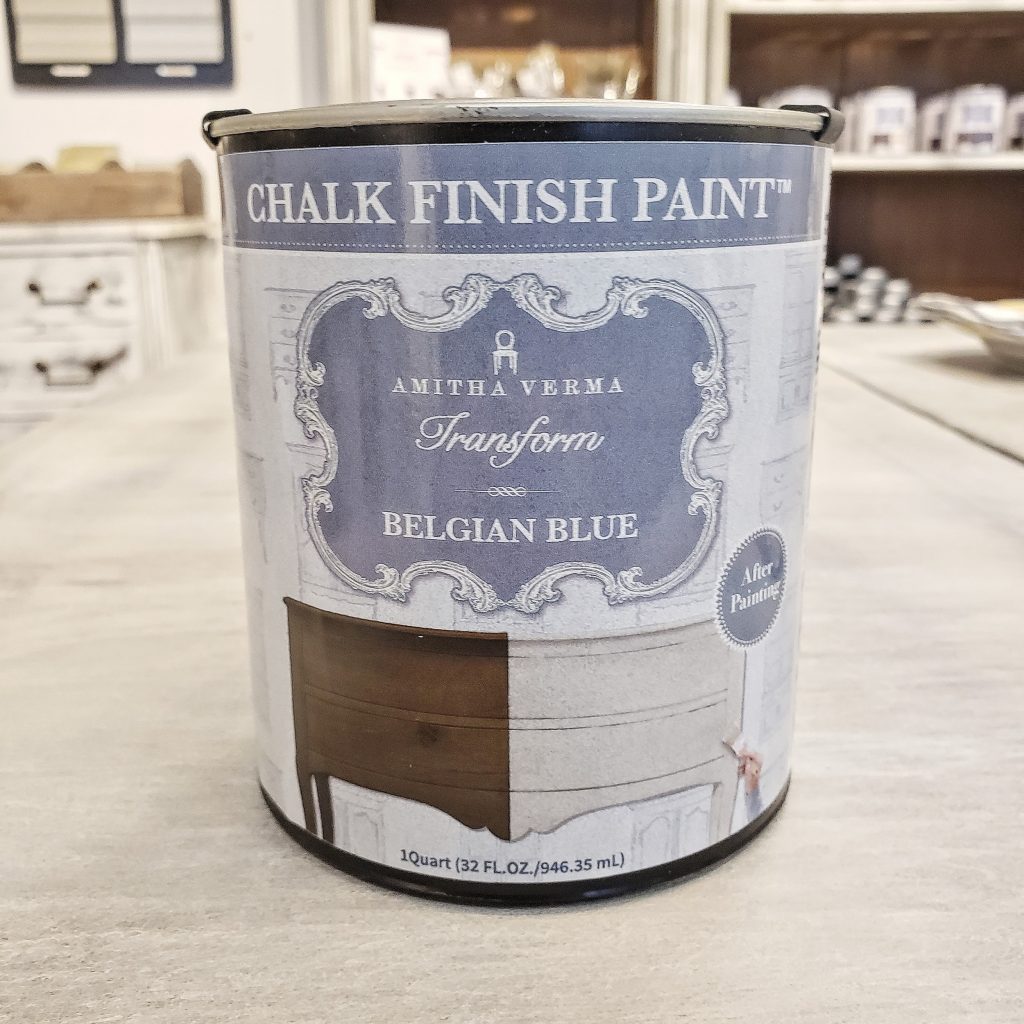
Amitha Verma Belgian Blue Chalk Finish Paint, Available at Village Antiques
Now I’m ready to start painting!
I’m using my Amitha Verma 2 inch Transform paintbrush and the first thing I’m going to do is jump in and get my brush fully loaded with paint.
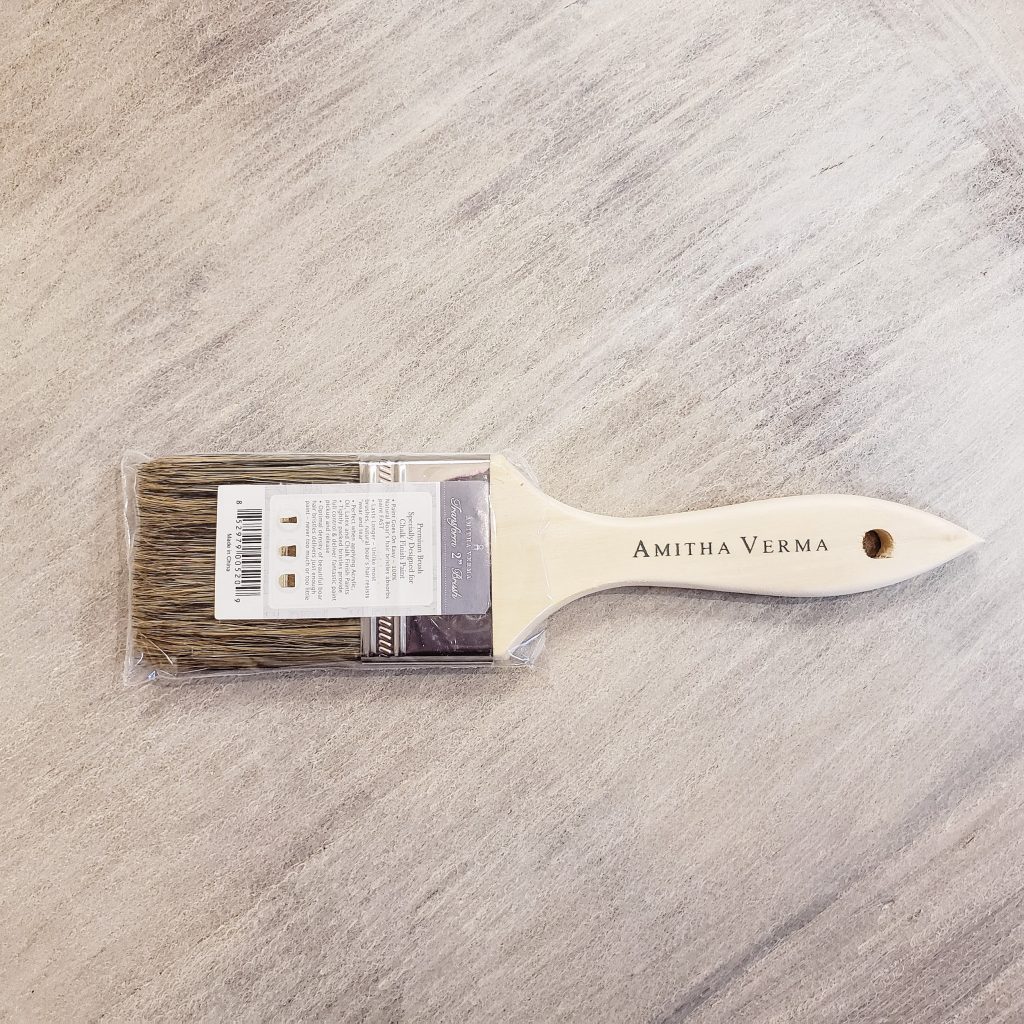
Amitha Verma Transform 2” Brush, Available at Village Antiques
Then I’m going to start in a corner and begin painting.
I am going to follow the wood grain, or – if there is no wood grain – follow the logical flow of the wood. So, for instance, in this case I’m going to paint the side panels down and then the door pieces horizontally across.
Once that’s done, I will let it dry for 20 minutes.
For this piece, I want more coverage so I will add one more coat of paint.
Whenever I’m painting, I keep different size Amitha Verma brushes on hand so I can get into the corners and around all of these beautiful details. Once that’s done I’m going to allow that to dry for another 20 minutes.
Next, I’m going to add a coat of Amitha Verma Protect to add a clear protective top coat to my piece of furniture.
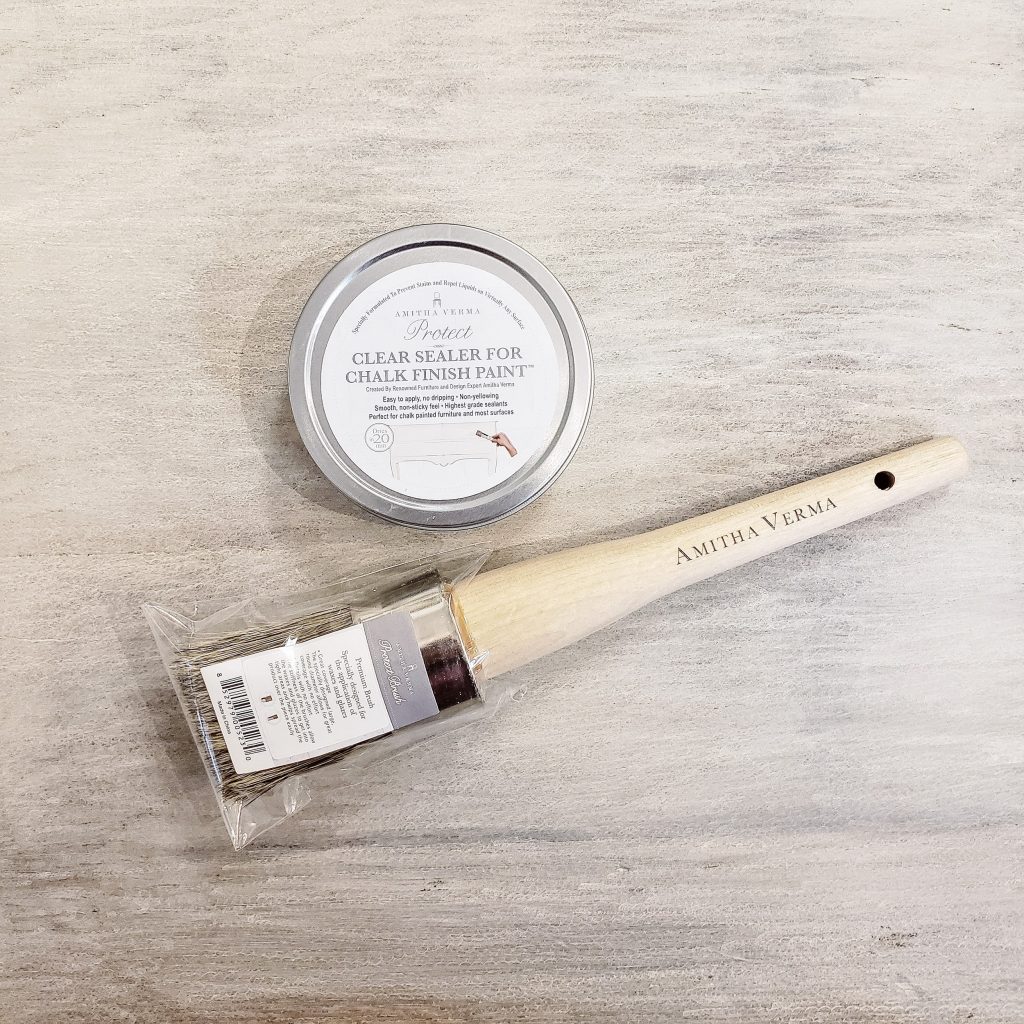
Amitha Verma Clear Sealer and Protect Brush, Available at Village Antiques
The coating should be a very thin film – about the thickness of maybe chapstick. You do not need a lot.
I’m going to let that dry for 20 minutes and then I’m going to do my final top coat with my Antiquing Glaze.
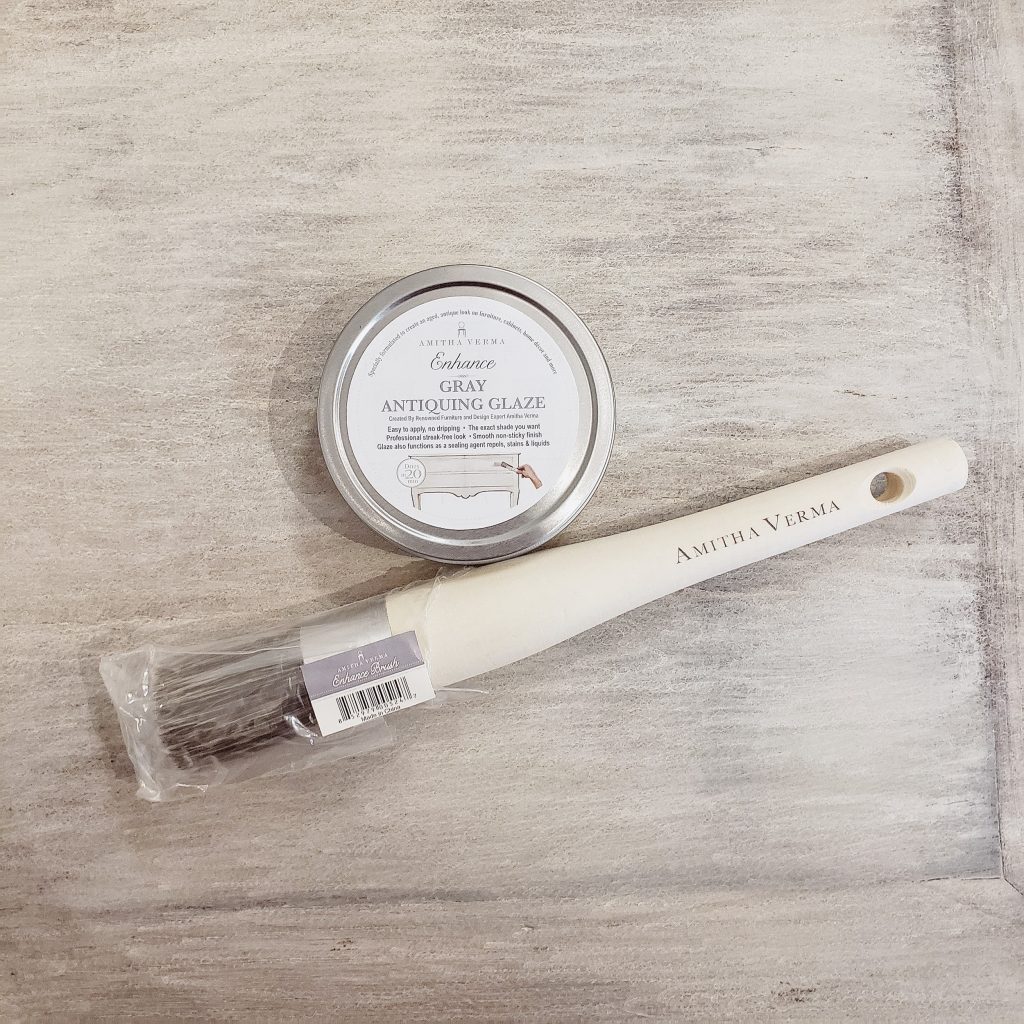
Amitha Verma Gray Antiquing Glaze and Enhance Brush, Available at Village Antiques
The Antiquing Glaze is a top coat as well and serves double duty to give you a protective sealant against spills as well as that beautiful antique patina that we all love and adore.
The best advice I can give you is to start with a light application and a light touch and then build on as you want more. You can start with one coat, blend it in, step back and then decide if you want to keep it as is or add more. It’s a lot easier to add more than it is to take away so we can be sure to start with a light coat and a small amount!
Once you’re done with that, you can let it dry for 20 minutes and then, voila! You are done with your furniture makeover!
Once I’m finished, I actually let it set for 24 hours so all of the finishes can cure and dry to a great hardened finish.
I set it aside and then the very next day I set it in place in my room, and then add my accessories to finish it all up.
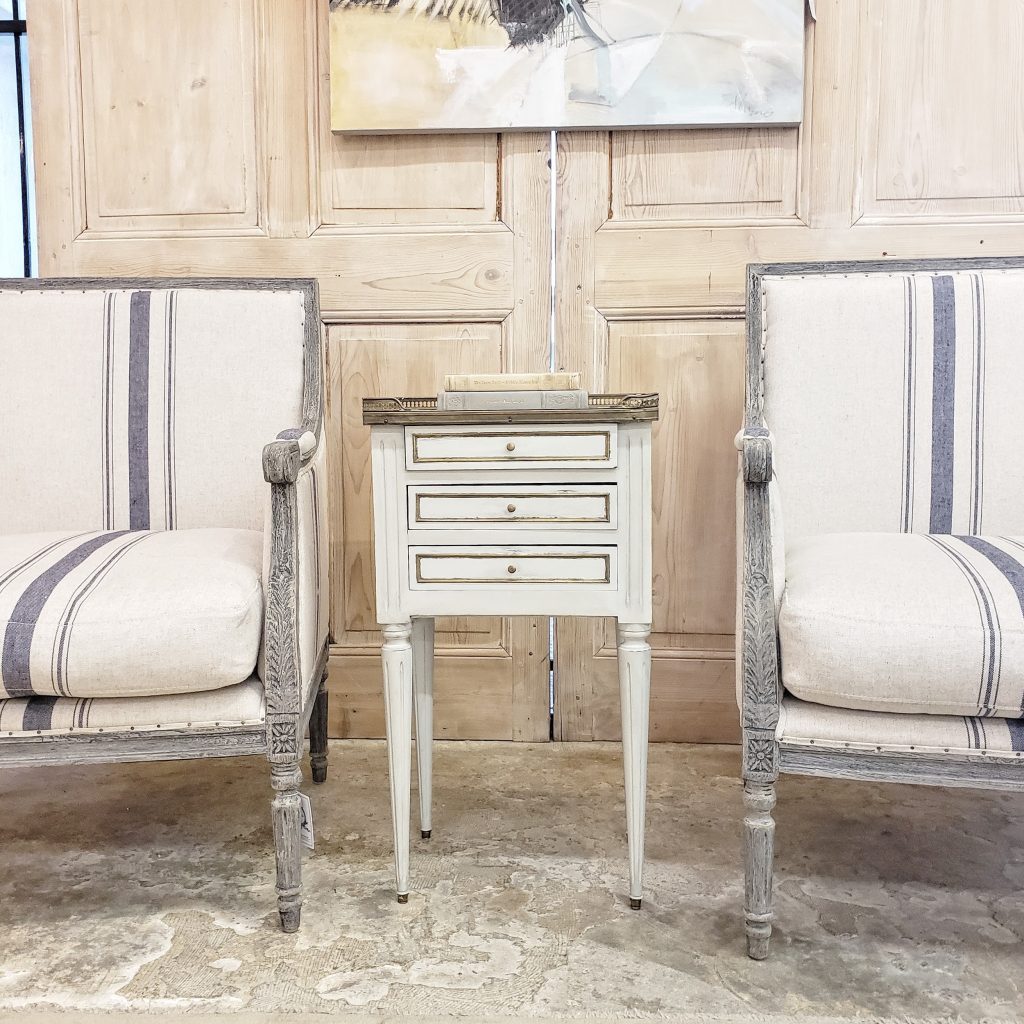
What do you think?
Drop a comment below and let me know how you feel about this makeover! What project are you thinking about making over? I’d love to know what you’re feeling inspired to do in your home this weekend after reading this article and watching this video!
Not in Houston? No problem! You can find and Amitha Verma Home Makeover products in retailers all over the United States! Simply check out our retailer locator to find a store near you!
Otherwise you can order from our website www.amithaverma.com 24/7!
Till we meet again, keep creating heart in your home!
Much love and inspiration,
Amitha

Secret Tool Revealed
High-priced interior decorators desperately want this hidden: YOU can transform your home into a gorgeous dwelling—all by yourself—and save thousands. All you need is a few dollars’ worth of material. Access this amazing secret RIGHT NOW, and revitalize your home...in just a few hours.


